
We’ll start with a quick comparison: the Silver Multicolor Rhinestone Skull Hand Bone set is a chrome-finish, jewel-toned charm set that reads both spooky and glossy—perfect for moodier black bases or jewel-toned ombrés. For nail students and new techs learning to adapt looks across nail types, this guide walks through step-by-step options for short nails, long nails, natural nails and extensions using royal blue, violet and iridescent AB accents. If you’d like to check the exact item while you read, see silver rhinestone skull charm for the product details.
How to plan the look for each nail situation
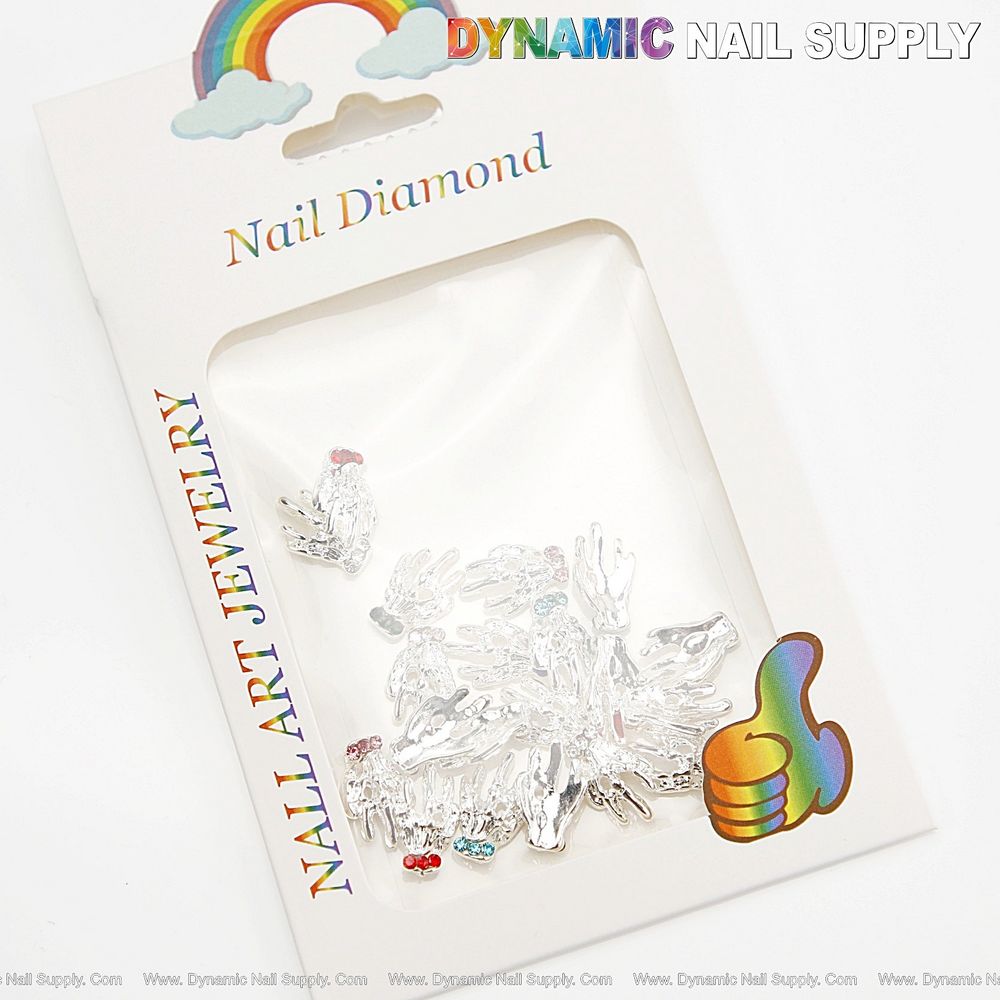
We begin by choosing the right base and placement strategy for your client’s nail shape and length. The Silver skull design is a small chrome skeletal hand with a row of three tiny colored rhinestones—royal blue, violet and iridescent AB are featured among the set. That compact silhouette plays differently across short, natural, long and extension canvases.
- Short nails: prioritize single-spot accents. Place one charm on an accent nail or at the tip near the free edge. A glossy deep purple or black chrome base makes the silver finish pop without overwhelming the short surface.
- Natural nails: favor low-profile adhesion and minimal elevation. Use a soak-off gel topcoat to encapsulate and avoid edges; position the charm close to cuticle or center depending on the client’s preference.
- Long nails: experiment with placement—centered, near the cuticle, or as part of a clustered accent. Long forms can carry a stacked look: mix royal blue and violet charms for a jewel-toned column down the nail.
- Extensions (tips/press-ons): take advantage of additional surface to create vignette scenes—turquoise or teal ombré into black chrome with a single silver hand charm and a scatter of micro-glitter.
How to prep and choose adhesives for different services
Prep and adhesive choice differ by service. We keep procedures efficient for salon flow while protecting the chrome finish of the charms.
- Prep: standard prep—shorten and shape, push cuticles, lightly buff the nail plate where adhesive will sit. For natural nails use a gentle dehydrate step; on extensions clean tack and remove dust.
- Adhesion for gels: apply a thin layer of builder gel or gel adhesive, cure tack-free where possible, then place the charm and cure again. Avoid brushing heavy topcoat over the metal which can dull chrome; instead, gel-seal around the edges.
- Adhesion for press-ons: choose a strong gel adhesive or double-sided nail tabs for temporary wear. For long wear use a thin bead of nail glue applied to both charm and base—press and hold firmly.
- Adhesion for at-home clients: recommend a small tube of nail glue and a clean tweezer. Show them how to press and hold for 15–30 seconds and suggest a gentle topcoat application around (not over) the chrome charm.
How to pair base colors and accents: royal blue, violet and iridescent AB
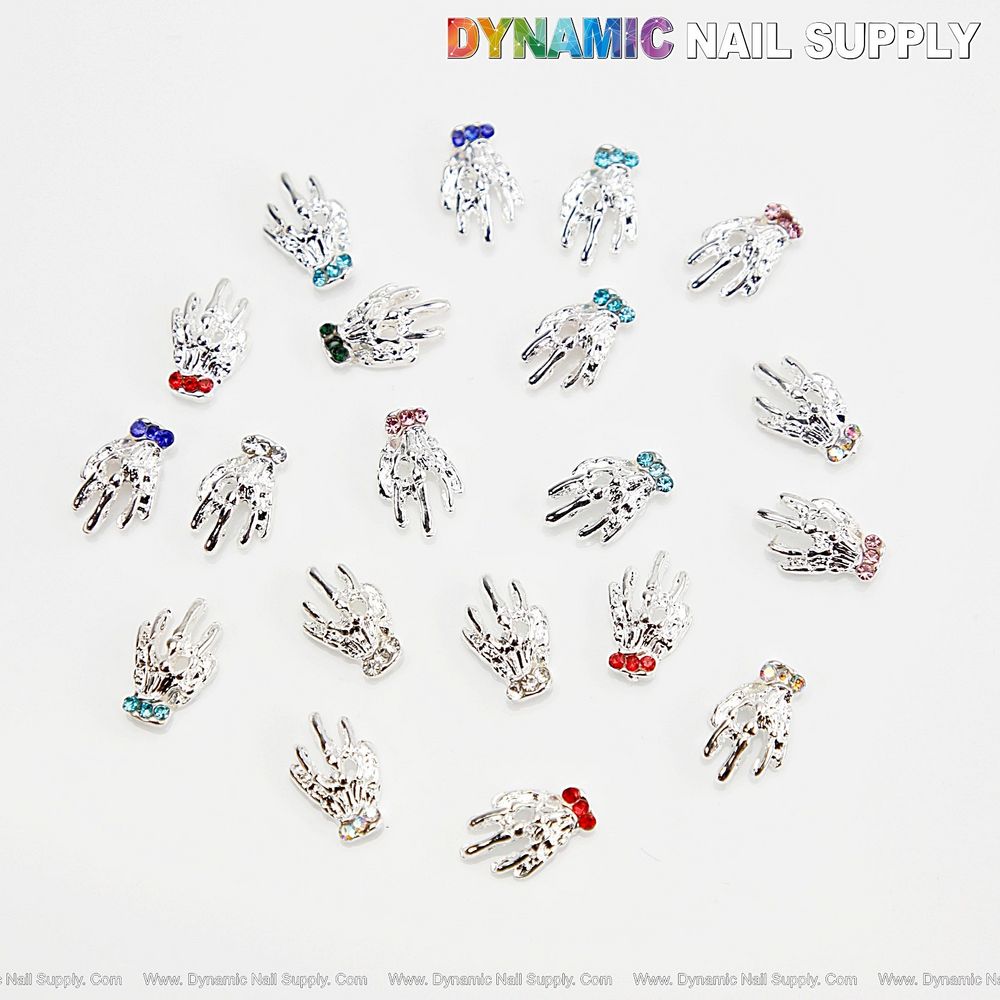
We match the product’s jewel-toned rhinestones and chrome finish to base colors that amplify contrast and mood. Choose a strategy based on client style: spooky, glam, or playful.
- Black chrome base: creates a high-contrast, gothic glam platform. The silver charm reads bright and reflective; royal blue rhinestones feel jewel-like against deep black.
- Deep violet base: complements the violet rhinestones and softens the macabre into a polished, luxe vibe. Use a semi-gloss or high-shine topcoat to reflect the chrome.
- Royal blue or teal ombré: pick a turquoise-to-royal-blue gradient and place the charm at the junction for a nautical-spooky take. The silver hand with iridescent AB rhinestone adds movement under light.
- Iridescent AB accents: use micro-glitter or thin foil lines to bounce the AB shimmer around the charm; subtle placement keeps the charm as focal point without visual clutter.
How to place and finish for durability without dulling shine
Finishing is where we protect both adhesion and that chrome look. Our aim is secure wear while preserving the reflective metal and colorful rhinestones.
- Press the charm into uncured gel or adhesive and cure according to your system. If using glue, press firmly and hold until set.
- Seal edges only: apply a thin bead of builder or topcoat around the perimeter of the charm to lock corners without covering the face of the metal. This keeps the high-shine finish intact.
- Avoid heavy matte topcoats directly on the charm. If a matte effect is desired on the nail surface, mask the charm and matte the surrounding nail, leaving the chrome accent glossy.
How to adapt service time and client expectations
We recommend technicians set expectations up front: delicate metal charms require some care. For salon services allow 10–15 extra minutes for placement and curing. For press-on sets factor in adhesive cure or double-sided tab time.
Price note: one variant lists at $5.99; prices may change.
How to handle safety and care
Small metal charms and rhinestones are a choking hazard—keep out of reach of children and dispose of stray pieces safely. Recommend that clients avoid aggressive picking at the charm and report any lifting so the charm can be re-secured in a follow-up service.
FAQ
- Can these charms be encapsulated? Yes—encapsulate by sealing around the charm with builder gel, but avoid covering the top surface of the chrome if you want to keep its mirror shine.
- Will the chrome finish tarnish? The high-shine metal finish resists routine wear, but avoid harsh acetone soaks that can dull surface sheen over repeated long exposures.
- Which rhinestone color is best with black? Royal blue and iridescent AB provide the highest contrast on black chrome bases; violet reads richer on deep purple bases.
We hope this comparison-style guide helps you pick placements and finishes for silver skull halloween nails across client nail types. If you want to inspect the set while planning your designs, see silver rhinestone skull charm. We invite you to explore the product details and imagine how the chrome hand charms will elevate your seasonal mani.
