
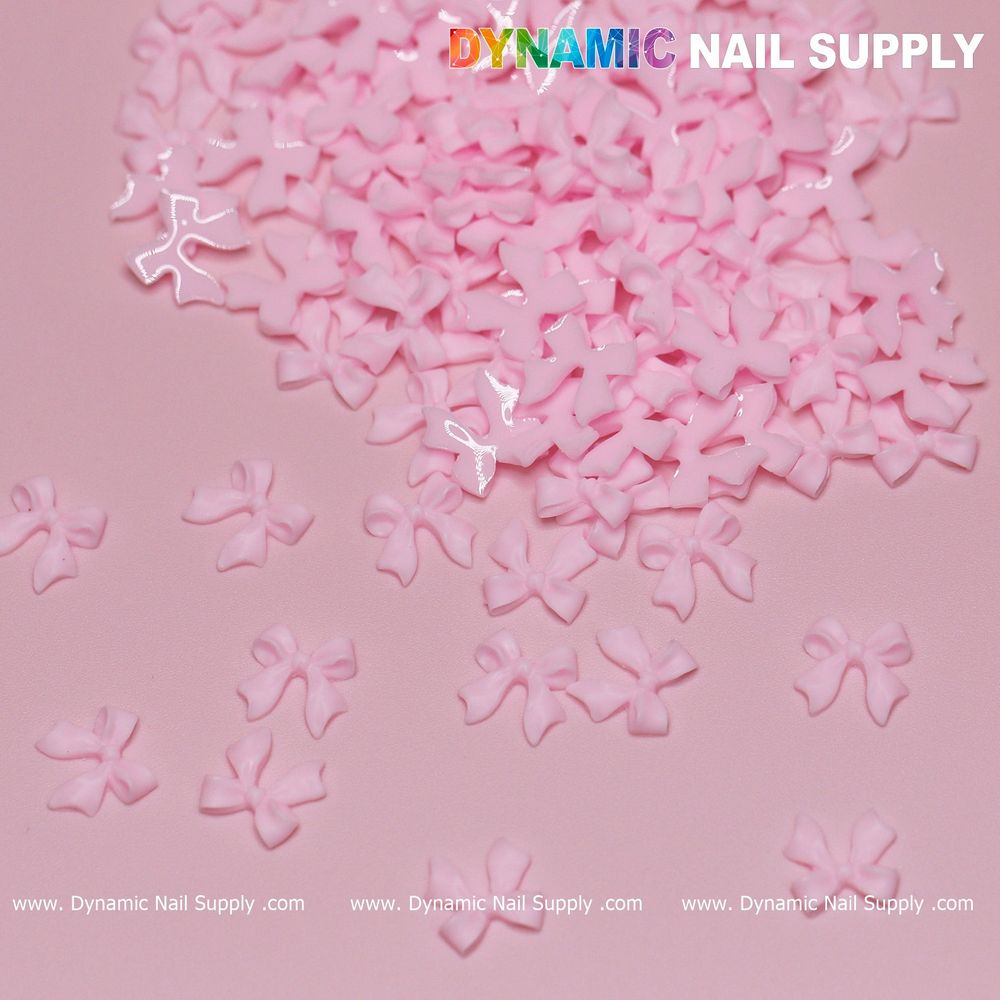
Quick comparison: we show two straightforward routes to the same look — a soft sheer-to-pale pastel pink ombré topped with glossy, uniform resin bows — one workflow optimized for natural nails and one for extensions. The core supplies are simple: a soft-pink base, a pale pastel layering shade, a sponge or brush technique for blending, and the 90 pcs Pure Pink Resin Bows Valentine set for consistent sizing and spacing.
How to prep the nail surface for a flawless ombré
Prep is the variable that affects adhesion and final appearance most. For natural nails we remove shine with a fine buffer, push back and trim cuticles, and dehydrate with a lint-free wipe. For longer natural plates we file side walls to the chosen shape and thin the free edge slightly if necessary. For extensions we check the bond at the apex and file any uneven transitions so the ombré layers sit flat across the tip and natural nail junction.
Choose a clear base or a sheer pink builder as your foundation depending on client strength needs. Cure base layers as required by the product label. Keep the working surface clean — we recommend using a small mat and individual tiny dishes for each client when you sort charms and adhesives.
How to build a sheer-to-pale pastel pink ombré
We aim for a seamless gradient from a translucent sheer-pink at cuticle to a pale pastel toward the free edge. Two reliable approaches:
- Sponge method (fast for beginners): Load a soft cosmetic sponge with a strip of sheer-pink and a strip of pale pastel. Lightly dab from the middle toward the free edge to blend; press more at the tip for stronger color. Tap off excess to avoid dots. Cure brief layers to lock the blend and repeat until you reach the desired opacity.
- Brush-blend method (control for pros): Paint a thin sheer base, then drag a small amount of pastel from the free edge toward the mid-nail using a flat synthetic brush. Work in semi-wet passes and feather the join with short sweeping strokes until smooth. Cure and build thin layers rather than one thick pass.
For a monochrome presentation, choose polishes and gels in the same pale baby-pink family — the finished look benefits from that milky blush tone and glossy highlights. If you want a matte field with a glossy bow contrast, finish with a matte topcoat before affixing the bows and then spot-gloss the areas around the charms if needed.
How to place the glossy pure-pink resin bows as scattered accents
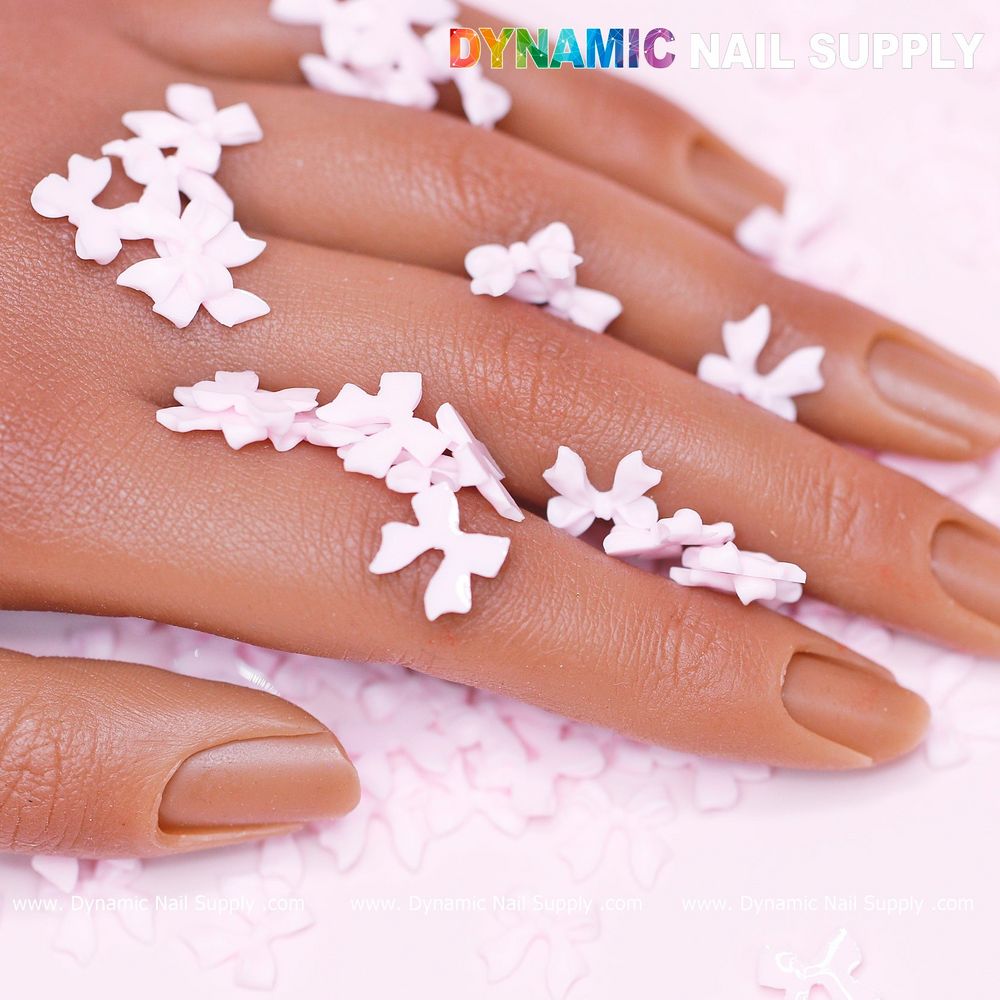
Placement is about scale and rhythm. The 90-piece Pure Pink Resin Bows Valentine set gives us identical small 3D bows, which makes spacing predictable across hands. For a romantic scattered layout we use one or two bows on most nails and a cluster of two to three on a single accent nail.
We recommend the following attachment sequence: apply a small bead of builder gel or adhesive where you want the bow, position the charm with a pointed tool or tweezers, press gently to seat it without pushing out the adhesive, then cure or allow to set according to the adhesive instructions. For secure but elevated dimension, place a tiny cured gel pad first, set the bow into uncured gel, then final-cure to lock the piece in place.
To test sizing and spacing before committing, lay out bows on a practice tip or client hand and adjust distances until the composition reads balanced. For this exact palette the glossy surface and uniform pale-pink shapes create bright white specular highlights when struck by light, so leave a little space around each bow to let those reflections read as part of the design.
For reliable ordering and consistent sizing during busy services we recommend the specific 90-piece set we used here — it ensures uniform pieces for even placement across a full service. https://dynamicnailsupply.com/products/copy-of-90-pcs-pure-red-resin-bows-charm-for-valentine-nails-design
How to adapt technique for different nail situations
Short nails: Keep the ombré subtle with a shorter gradient zone; place one micro-bow at the base or center rather than a cluster. Small bows still read well on short plates if you keep spacing minimal.
Long nails: Use longer blends with more layering for a smooth transition across the larger canvas. We like to place scattered bows staggered across different fingers so the eye moves across the hand.
Thin or weak nails: Prioritize strength first — use a thin builder base to reinforce the plate and keep anchored charms low-profile. Consider fewer bows or a single accent to reduce stress at the edge.
Natural nails versus extensions: On naturals, aim for lighter application and minimal lift to preserve natural flex. On extensions, you can safely build slightly higher gels and place small clusters because the extension supports more hardware. Always check the client’s activities and advise on aftercare if the client uses their hands frequently.
How to finish, seal, and care for the manicure
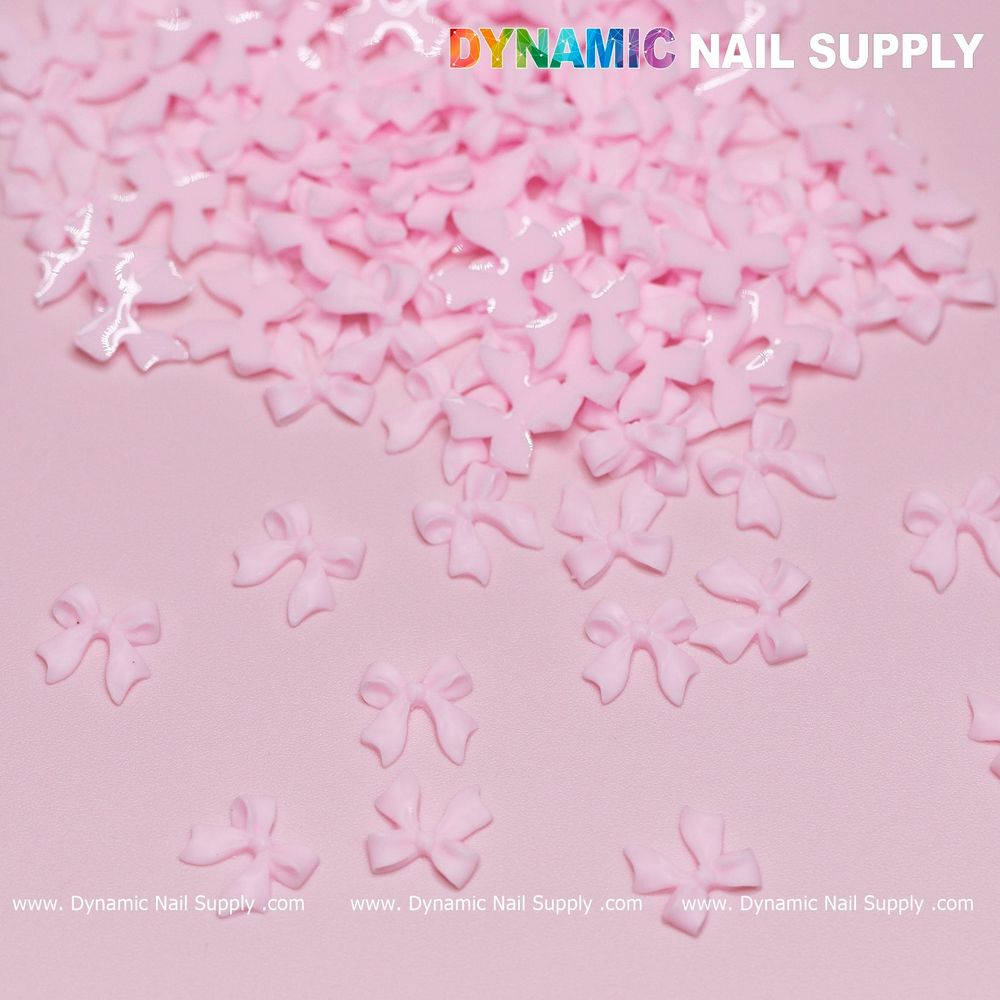
Seal edges with a glossy topcoat if you want a uniform shine that picks up the resin bow highlights. If you used a matte canvas, avoid coating over charms — instead do a thin brim of gloss around the bow base to keep adhesion while preserving matte contrast. File and lightly buff only if necessary before topcoat; aggressive filing around charms can create gaps where dirt accumulates.
Because these are small 3D parts, remind clients to avoid heavy lifting without gloves for the first 24–48 hours. Store any unused bows in a dry container; they are uniform in color and shape so inventory is easy.
How to handle safety and small-part notes
These resin bows are small embellishments. Keep them away from young children and pets, and check for secure adhesion during follow-up visits. Use tweezers or a dedicated charm tray during service to prevent loss and contamination. No special chemical precautions are required beyond usual adhesive and gel handling guidelines.
How to wrap up: quick FAQ for technicians
- Q: Will the bows lift the topcoat? A: If you cure a small gel pad or use a proper adhesive, the bow sits above the topcoat — plan your sealing approach accordingly.
- Q: Do the bows come in mixed colors? A: This set is uniform pale-pastel pink only; the monochrome look is part of its appeal.
- Q: How many services will one set cover? A: Coverage depends on placement choices; the 90-piece set supports multiple full-hand services or many accent applications.
We hope this step-by-step helps you build consistent pink ombre bow nails across different client needs. For product notes, price and stock may change, and the specific uniform bow set we used keeps sizing and spacing consistent for repeatable results.
Curious to inspect the set or check availability?
We invite you to explore the product details and test the spacing approach on a practice tip to make the technique your own.
