
Quick comparison: this drill teaches the same core skills for short natural nails, long extensions and thin or wide nail plates using one tool — a pale bubblegum pink square 100/180 double-sided hard-board file in a 25-pack. We designed the sequence to show how the coarse face removes bulk and the finer face refines surface and blends sidewalls so a predictable apex and finish emerge every time.
How to set up the drill station
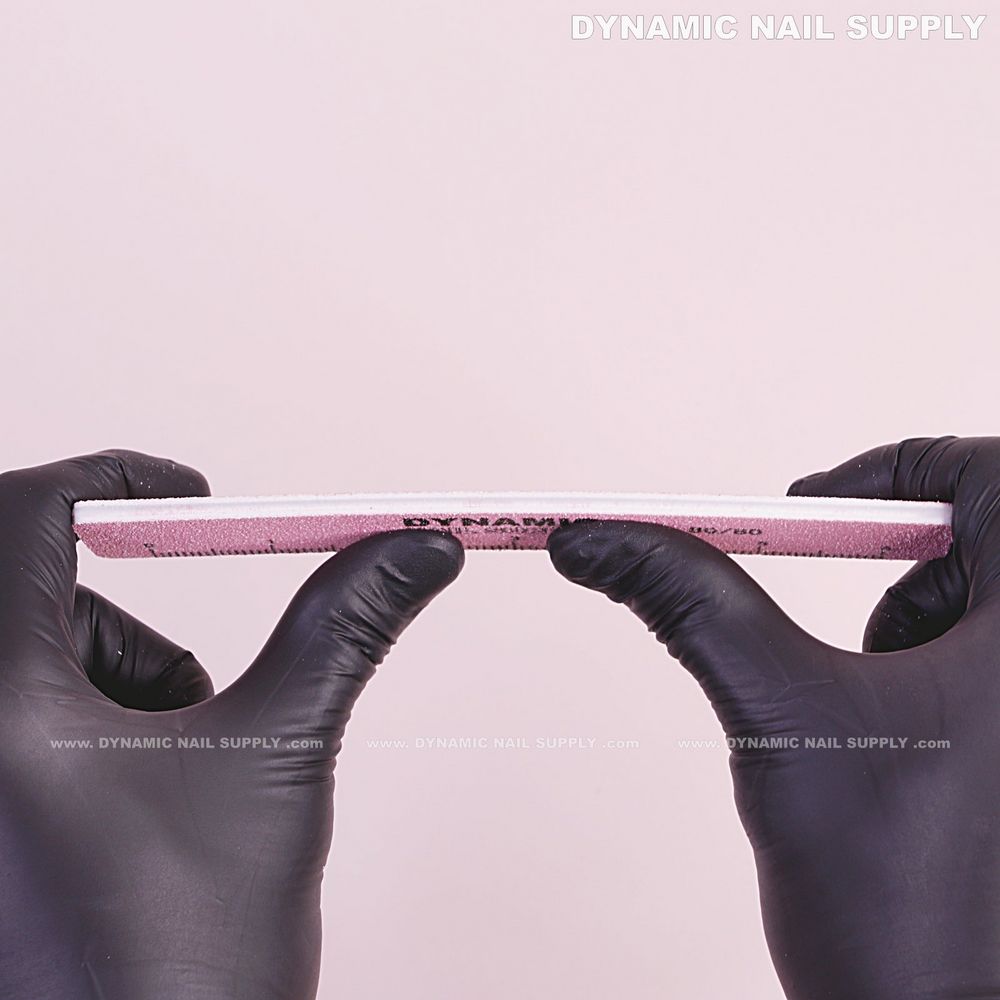
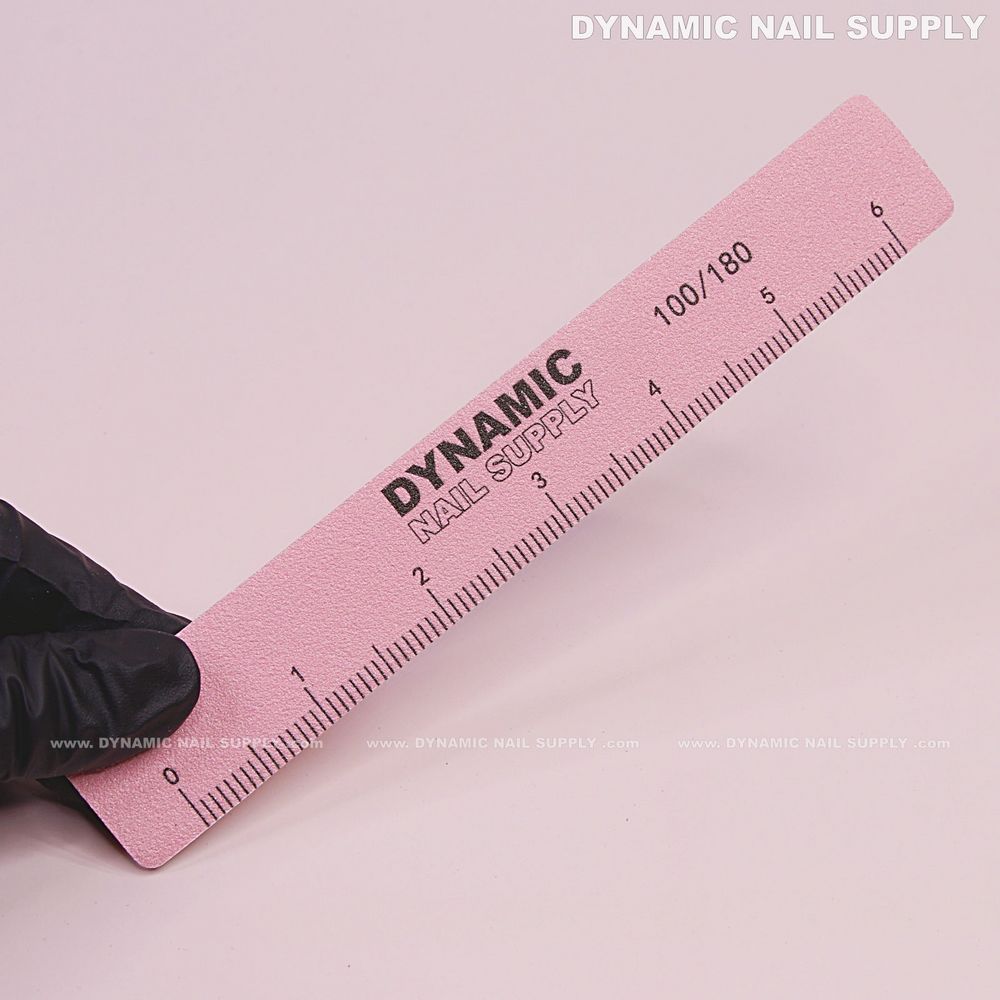
We prepare a tidy station so beginners can repeat the moves without fumbling. You need one square double-sided board (100/180 grit), a visible work light, a disposable towel, a clean stick or pusher, and a nail form or tip for practice. Keep a discard tray for used files and an extra pack nearby — this square style has a printed ruler and black text on the surface that helps visual checks while you work.
How to warm up: basic hand positioning and file grip
We coach students to hold the file like a pencil with a relaxed thumb-on-top pressure and a steady wrist. For sidewall blending, angle the board so the long edge runs parallel to the sidewall and use short controlled strokes. Use the 100-grit side to remove product bulk and the 180-grit side to soften the bevel and feather into the natural plate. Maintain light, even pressure; heavy force scratches and removes too much material too quickly.
How to run the step-by-step drill
- Step 1 — Visual baseline: Inspect the nail or practice tip. Note sidewall height, apex placement and any ridges. Mark the area to reduce if needed with a washable marker.
- Step 2 — Bulk reduction with 100 grit: Use the coarse face only where product is thick. For long extensions we take slightly longer strokes toward the free edge to lower bulk. For short natural nails limit use to the lateral walls and tip edge to avoid thinning the plate.
- Step 3 — Shape edge corners: With the same face, define corners if the service calls for a square silhouette. Use controlled strokes and the printed ruler on the pink surface as a visual guide for repeatable length.
- Step 4 — Feather the apex: Switch to the 180 side. Apply feathering strokes from the apex down toward the sidewalls in overlapping passes. For thin nail plates we keep strokes shorter and lighter; for thick overlays we increase pass count until the transition looks smooth.
- Step 5 — Sidewall blending: Hold the file at a shallow angle and sweep along the sidewall junction. The goal is an imperceptible slope from product to natural nail. On extensions, focus blending at the junction with tip; on natural nails, stop when surface looks even to the eye and under low magnification.
- Step 6 — Final quality check: Rotate the hand under light; use the file’s ruler print to check symmetry from nail to nail. If any ridge remains, touch with light 180 passes. If the apex flattened, restore by subtle upward filing just behind the free edge and re-blend.
How to adapt moves for each nail situation
- Short natural nails: Minimize use of the 100 face; treat it primarily with the 180 side. Short plates are at higher risk of over-thinning, so keep pressure feather-light and focus on surface prep rather than reshaping.
- Long extensions: Start with broader 100 strokes to remove bulk, then work more passes with 180 to refine. Long nails need consistent apex height along the length; check sidewalls frequently while the client flexes the finger to spot uneven tension.
- Thin nail plates: Avoid aggressive 100 work near the natural nail. Reserve coarser filing for the free edge and overlay bulk only. Use the 180 side earlier in the sequence to preserve plate integrity.
- Thick overlays or heavy acrylic: Use 100 grit confidently to reduce mass, but never use it on uncured product. After major reduction, switch to 180 for all blending and finishing steps.
- Mixed sets (natural + tips): Treat each nail to the drill individually. When blending a tip junction, begin coarse on the tip and immediately feather with 180 toward the natural plate to create a single seamless arc.
How to assess finish quality during skills checks
We score a student’s work by three visual and tactile criteria: symmetry across nails, invisible sidewall junctions, and a correctly placed apex that supports the free edge without bulging. Use these quick tests: swipe the surface with a clean brush to reveal any dust lines, view under a lamp at low angle to catch shadowed ridges, and press the free edge for flex. If the sidewall shows a visible step or a sharp line, repeat the 180 blending passes until the slope is uniform.
How to care for and handle the square board
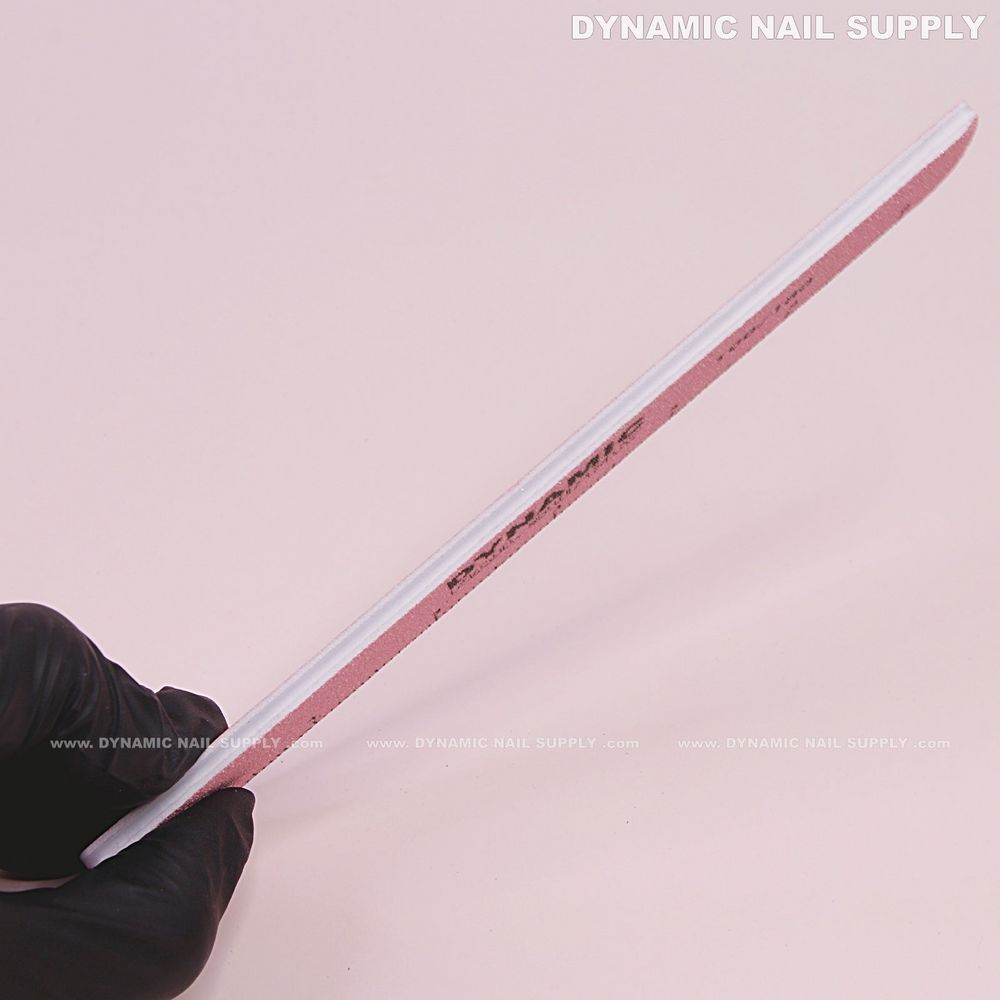
These pink hard-board files are water-resistant and reusable for multiple clients when you follow salon sanitation rules. Wipe obvious debris between uses, retire a file when the abrasive surface glows smooth or the printed markings fade. Store unused boards flat to protect the white core layers exposed at the edges; the compact 25-pack is handy for teaching clinics or stocking student kits.
Safety and practical notes
- Never use the 100-grit side on uncured product or raw, damaged nail tissue.
- Keep strokes short and monitor heat build-up; if a client feels warmth, stop and reassess pressure and speed.
- Dispose of files showing contamination or excessive wear; do not attempt to regenerate worn abrasive by washing alone.
How to score a pass/fail drill quickly
For a classroom skills check we recommend a short rubric: symmetry (0–3), sidewall blend (0–3), apex shape (0–3), finish smoothness (0–1). A passing total should reflect consistent use of both faces of the board and an ability to adapt pressure for the nail type being examined.
To inspect product identity and pack details for your kit, consider this final note:
We hope this drill helps you teach and practice repeatable sidewall blending and apex feathering using the square medium/fine double-sided board. Prices may change, and this tool is ideal for training classes and clinic work.
FAQ
Q: When should we switch from 100 to 180 grit?
A: Switch once the bulk profile is close to your target shape and before you begin feathering the blend into the natural nail.
Q: Is the printed ruler useful?
A: Yes — the ruler print is a simple visual cue for repeatable tip length and symmetry checks during the drill.
Q: How many passes are typical?
A: It depends on thickness; start with two controlled 100 passes for bulk and three to five light 180 passes for blending, adjusting to the nail’s response.
