
Seasonal nail art can look complex, but the right sticker and technique make spooky designs fast and professional. This guide shows how to get clean, long-lasting Halloween nail stickers results whether you’re working at home or in a salon.
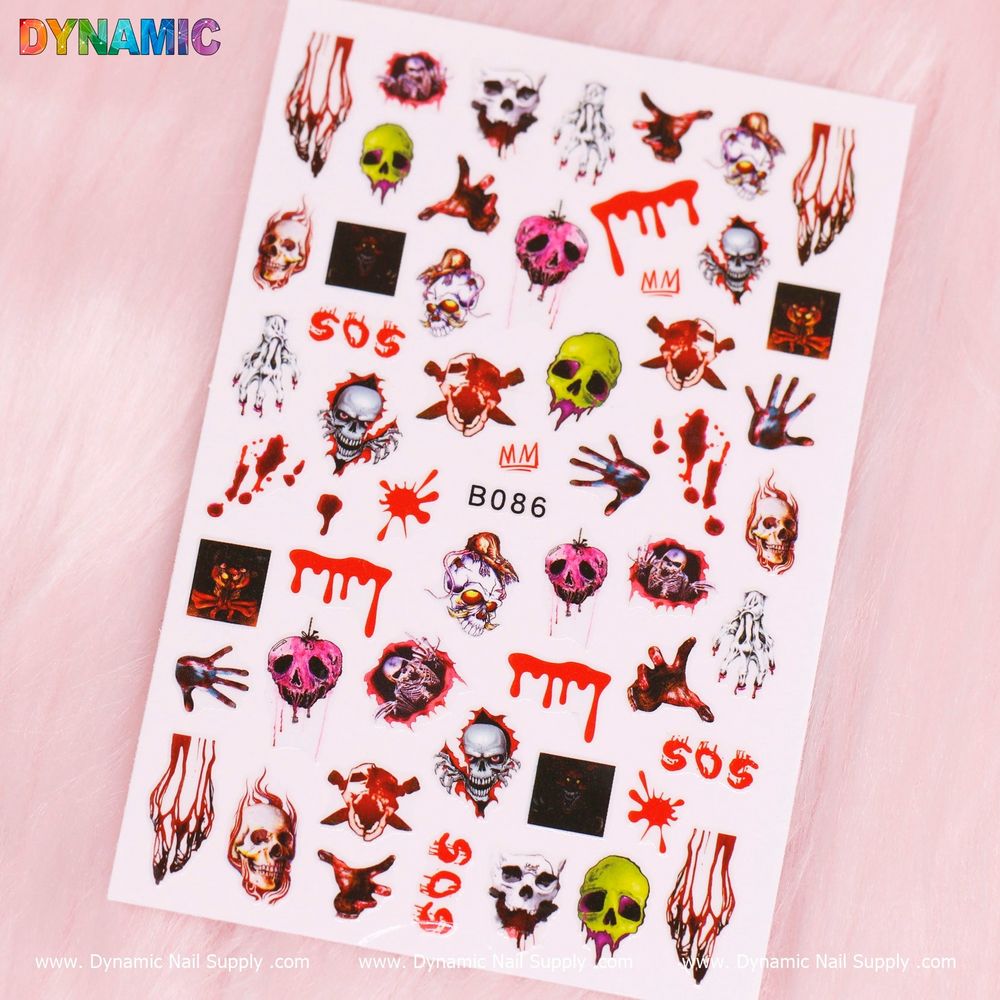
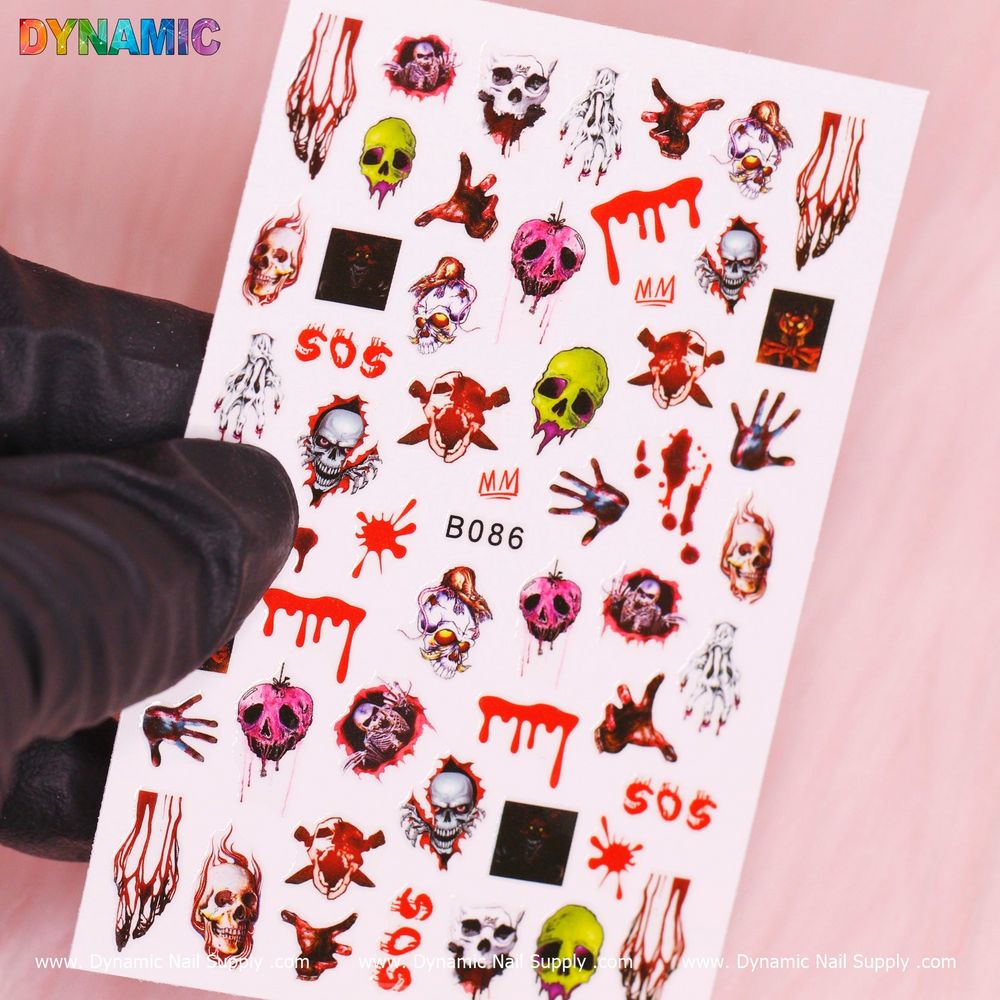
Before you start, handle one sheet to confirm layout and motifs. If you want to preview the design before buying, check the Sticker skull to see the skull and bloody motifs up close.
Why choose Halloween nail stickers for your kit
Stickers are an immediate way to add detailed Halloween imagery—skulls, gore-inspired accents, gothic icons—without hand-painting. They save time, reduce product waste, and are ideal for quick seasonal services, event-ready looks, or clients who want dramatic art for one night.
What you’ll need
- Clean nails (natural or enhancements)
- Base coat and a top coat
- Tweezers or a silicone tool for placement
- Small scissors or nail clippers for trimming
- Cuticle oil for finish care
Step-by-step: salon-quality application
- Prep the nail: Remove oils and old polish, gently push back cuticles, and lightly buff the surface so stickers adhere evenly. A clean, dry canvas is essential.
- Apply base: Use a thin, even base coat and let it set until tacky rather than fully cured. This helps create a smooth surface and improves seal.
- Choose and trim: Select the sticker size and design that best fits the nail. Trim excess material from around the design if needed so it contours to the nail bed.
- Place precisely: Use tweezers or a silicone picker to lift the sticker and lay it gently on the nail. Start at the cuticle edge and press toward the tip to avoid air pockets.
- Smooth and secure: Press down firmly with a finger or tool, working from center outward. Fold or wrap the sticker around free edge if appropriate, and trim any excess cleanly.
- Seal with top coat: Apply one or two thin layers of top coat, brushing over the edge of the sticker to lock it in. This step prolongs wear and blends the sticker into the nail surface for a professional finish.
- Finish: Gently apply cuticle oil around the nail to hydrate and give the set a polished appearance.
Advanced tips for longer wear
- If working on enhancements, lightly buff the surface of acrylic or gel before application for better adherence.
- Wrap the free edge of the sticker under the nail and seal with top coat on the underside for added durability.
- For ultra-smooth finishes, cure a thin layer of gel top coat over the sticker if using a compatible system—but only if you are familiar with gel application and curing procedures.
- Replace any lifted edges promptly: a fresh thin top coat over the lift can extend the life until your next service.
Key features in context
This Halloween Sticker (B086) gives you themed nail art options—skull and horror-inspired motifs—without needing brushes or freehand skills. At an accessible price point of $2.00, it’s a cost-effective add-on for seasonal services or retail at the counter. The compact format makes it easy to keep multiple designs on hand for quick client changes between services.
Who should use these stickers
- Busy nail technicians needing rapid, repeatable art for themed bookings.
- Home users who want dramatic Halloween looks without advanced skill.
- Event stylists and makeup artists adding finishing touches for costumes and shoots.
Care and safety notes
Stickers are meant for decorative use on nails only. Avoid contact with eyes and prolonged skin contact around sensitive areas. If irritation occurs, discontinue use. Keep out of reach of children who might remove and swallow small pieces. For best results, follow general nail hygiene and avoid exposing fresh applications to prolonged moisture until the top coat has set.
Quick troubleshooting
- Air bubbles: Gently lift the sticker and reposition, pressing from the center outward. A thin top coat can help disguise minor bubbles.
- Edges lifting: Apply top coat across the edge and press down firmly to reseal.
- Sticker too large: Trim to fit the nail plate before placement, then finish as directed.
Whether you’re prepping for a Halloween party, serving walk-in clients, or offering seasonal retail add-ons, these stickers make spooky nail art accessible and repeatable. For convenient seasonal stock and simple single-sheet pricing, look for the Halloween Sticker (B086) offered by Dynamic Nail Supply as a quick way to expand your creative options.
With the right prep, placement, and sealer, Halloween nail stickers deliver showy, professional results without lengthy painting sessions—perfect for creating memorable looks that last through the night and beyond.
