
We’ll make a quick comparison up front: for ultra-thin, long half-cover tips that are semi-translucent milky white and glossy, cyanoacrylate glues give the fastest hold, brush-on gel adhesives add working time and shock tolerance, and double-sided adhesive tabs are the tool for temporary or practice sets. Which one you choose depends on nail length, natural nail condition, and whether the shape is a thin stiletto or a shorter, wider tip.
How to match adhesive strength to the tip design
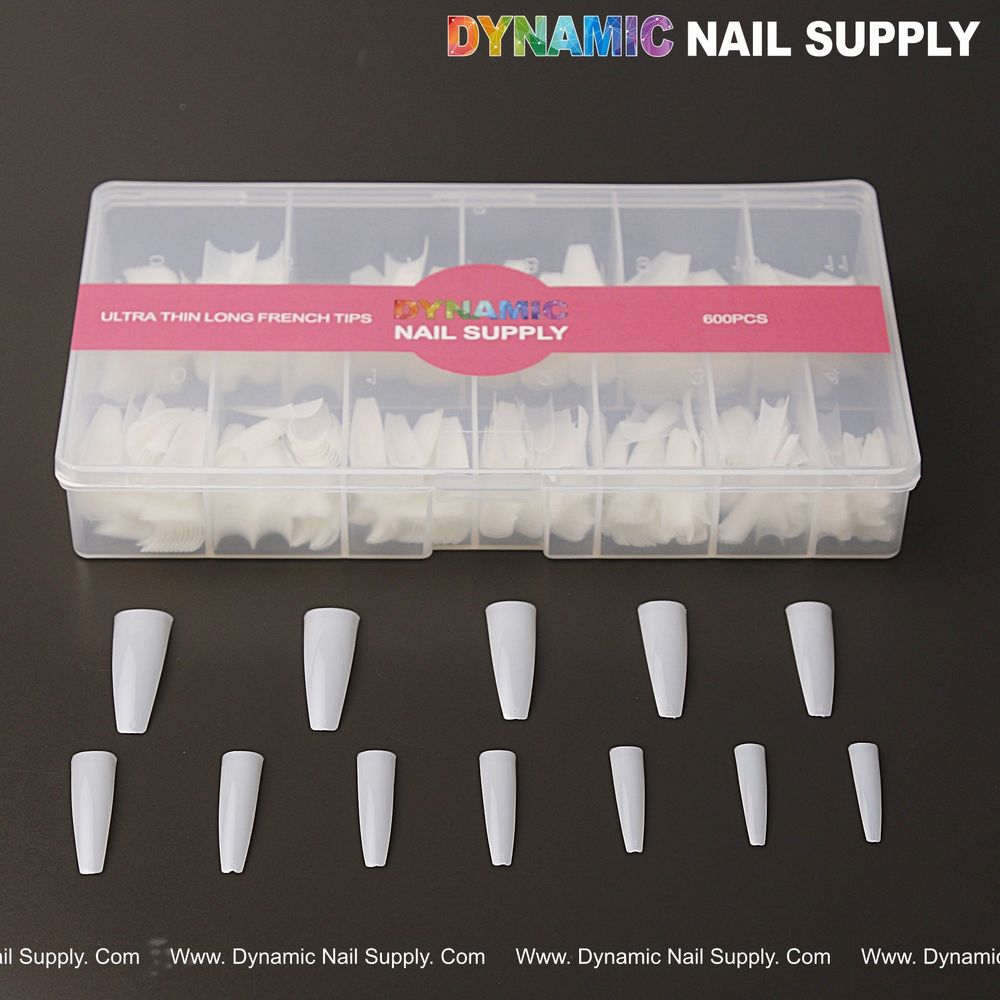
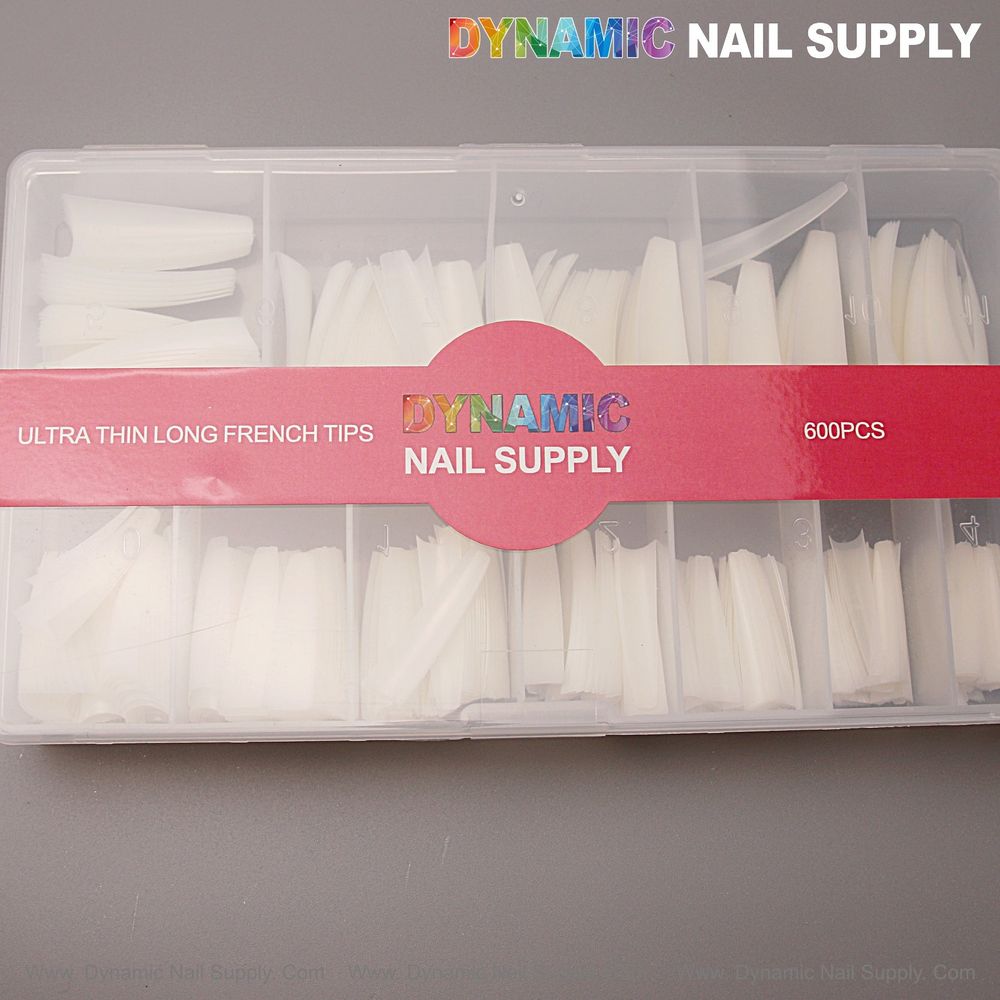
Ultra thin long half-cover tips (this 600-piece set in a clear organizer shows 12 sizes stacked and labeled) demand a bond that resists lateral stress without making the junction brittle. For long stiletto and almond silhouettes we prioritize adhesives with some flexibility after cure; for short or natural looks we can lean toward faster-setting, higher-tack options.
- Long, thin stiletto tips: choose an adhesive that cures to a slightly resilient film to absorb bending forces at the seam. Thick, rigid bonds tend to crack when the client hits a point.
- Long almond or pointed shapes: a balanced bond—good initial tack plus a small working window—lets you seat the tip precisely before final cure or clamp setting.
- Short or natural-length tips: quick-setting glues can be fine because less leverage acts on the seam.
- Practice sets and temporary wear: double-sided tabs make repeated removals cleaner and preserve the semi-translucent natural white finish of the tip.
How to compare glue types for the glossy semi-translucent tips
We compare three practical adhesive classes and how they behave with smooth glossy plastic tips in a neutral milky white palette.
Cyanoacrylate (nail glue)
- Performance: very high initial tack and fast set — ideal when you need immediate hold during filing and shaping.
- Handling: minimal equipment required; apply a small bead to the well and press the tip into place.
- Best for: busy salon workflows, short sessions, and when you want to begin blending quickly.
- Considerations: on ultra-thin tips avoid over-application; excess glue can read through a semi-translucent tip or stiffen the seam excessively.
Brush-on gel adhesives (no-light or LED-cure variants)
- Performance: longer working time, cleaner initial placement, and a cured bond that often has more flexibility than cyanoacrylate.
- Handling: requires lamp curing; great when you plan to shape the meeting line before a final cure.
- Best for: long stiletto and almond tips where flex is needed and for beginners who want forgiving placement time.
- Considerations: lamp access and slightly longer application steps are required; the cured adhesive can help maintain a glossy finish at the seam.
Double-sided adhesive tabs
- Performance: removable, lower-tack bond meant for short-term wear or practice work.
- Handling: quick to position and remove; ideal for client trials or training sets in a clear plastic organizer of 12 sizes.
- Best for: bridal trial sets, teaching, and when preserving the semi-translucent white look matters without permanent bonding.
- Considerations: they are not a long-term solution for high-stress shapes like long stilettos.
How to choose and use primers with ultra-thin half-cover tips
Primers modify the natural nail surface to improve adhesion. When working with a milky white, glossy half-cover tip we want a primer that helps the adhesive bond to the nail plate, not the plastic, and that won’t discolor the transparent edge.
- Non-acid primers: preferred for beginners and repeated clients because they are less aggressive but still increase bond reliability. Use a very light application to avoid pooling under the tip.
- Acid-based primers: stronger etch effect for problem nails but can increase sensitivity and are not always necessary with modern adhesives—use only when adhesion problems persist and follow safety precautions.
- Dehydrators: wipe the nail surface and create a slightly drier substrate for glue; essential when the natural nail is oily.
- Application tip: apply primer only to the natural nail, keep the tip clear, and let the primer flash dry before placing the tip to minimize transfer onto the semi-translucent edge.
How to adapt application method by nail situation
We teach new techs to adjust adhesive strategy based on five common nail conditions.
- Healthy, normal nails: dehydrator + non-acid primer + cyanoacrylate for quick seating; finish with light filing to blend and a glossy topcoat for a clean look.
- Oily or sweaty nail plates: extra dehydrator passes, stronger primer if needed, and brush-on gel adhesive for controlled placement and reduced chance of early lift.
- Short natural nails: shorter leverage means cyanoacrylate is usually fine; ensure the half-cover tip matches well so you don’t trap air under the semi-translucent surface.
- Very long or fragile natural nails: use a flexible gel adhesive to allow movement at the seam and reduce stress transfers that can split ultra-thin tips.
- Practice or bridal prep with repeat use: double-sided tabs let you trial shapes—especially that long almond or stiletto silhouette—without permanent glue while keeping the clean white aesthetic.
How to finish, safety notes, and maintenance
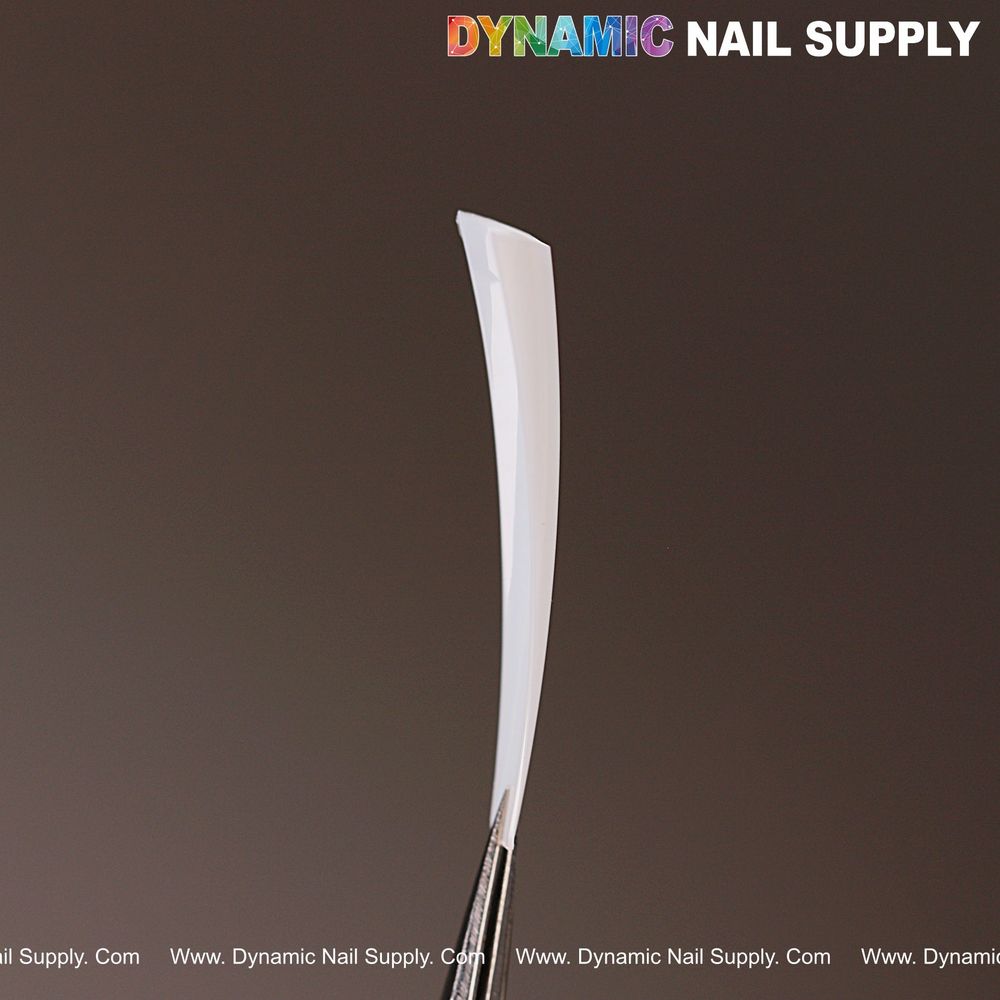
After bonding, shape and blend the half-cover tip carefully to preserve its semi-translucent glossy surface. Keep the seam smooth and avoid heavy filing that thins the tip edge excessively.
- Ventilation: use good room ventilation when applying strong-setting cyanoacrylates; their fumes can irritate mucous membranes.
- Skin contact: avoid getting glue or primer on skin; cure or remove immediately following manufacturer instructions for the adhesive product.
- Storage: keep adhesives capped and stored at recommended temperatures to maintain performance.
How to troubleshoot common lifting
Lift usually comes from surface oils, incorrect sizing, or too much rigid glue at the seam. Reassess by removing the tip, cleaning the natural nail with dehydrator, lightly buffing the contact area, and switching to a flexible adhesive if the shape is long and thin.
FAQ
- Q: Which adhesive gives the most natural flex for a stiletto? A: A brush-on gel adhesive that cures to a slightly flexible film is ideal for very long stiletto tips.
- Q: Can I use tabs under a long tip? A: Tabs are best for short-term wear and practice; for extended wear on long tips choose a stronger adhesive system.
- Q: Will primers discolor the semi-translucent edge? A: If primer touches the tip it can alter appearance; apply primer only to the nail plate and let it dry before seating the tip.
We encourage you to test combinations on practice fingers or a salon practice set of long half-cover tips in the 600-piece organizer to find the balance of workability and hold that suits your clients.
We’d love to see how you pair adhesives with these long natural white half-cover tips; consider trying different primers and adhesives on a practice tray to compare performance.
Try different primers and adhesives on a practice tray with Ultra Thin Long French Tips to compare performance.
