
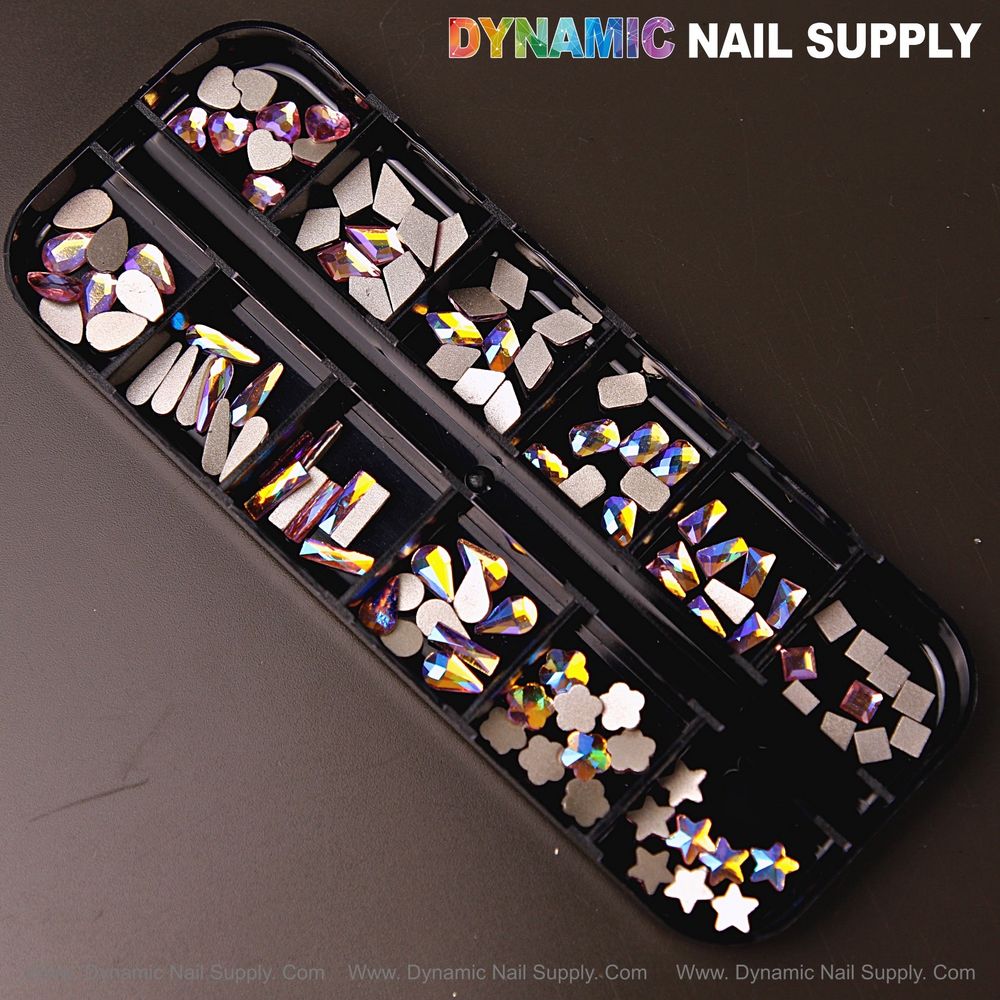
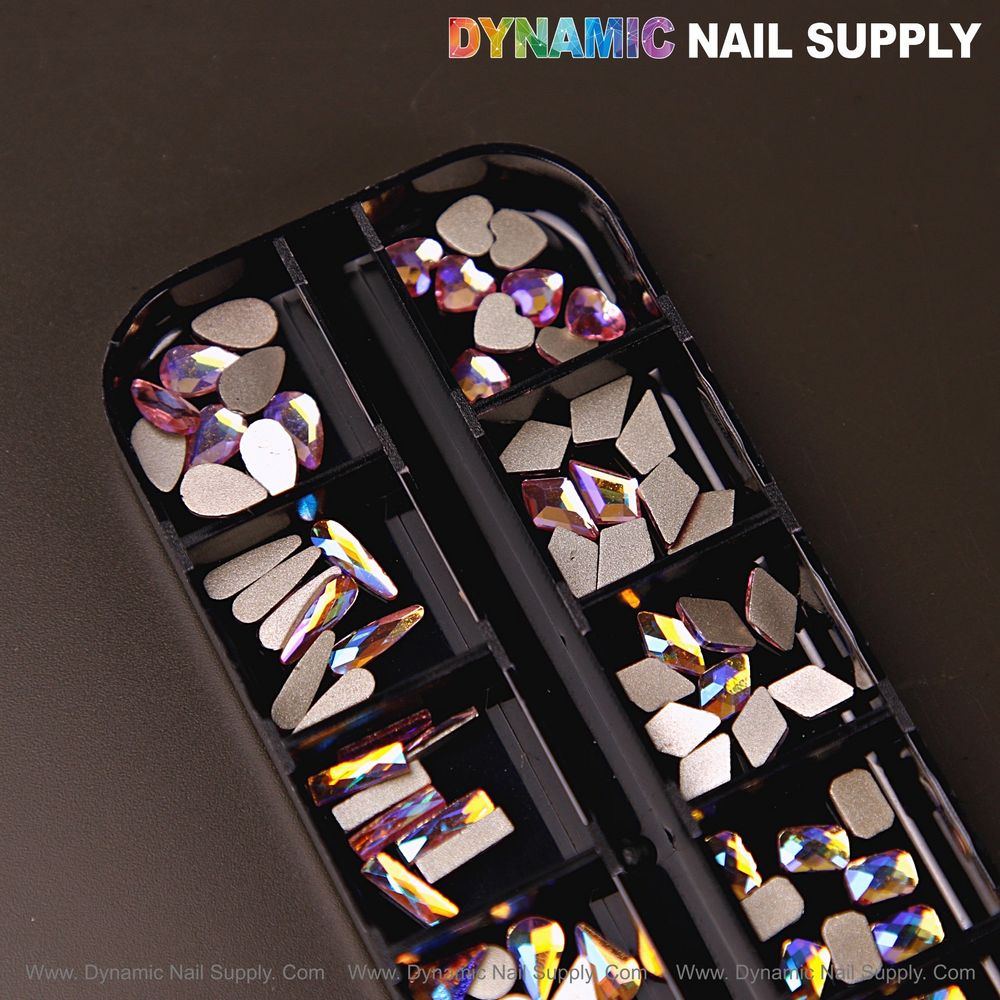
We’ll make a quick comparison up front: applying mixed-shape flat-back rhinestones to short, long, thin, natural or extension nails uses the same core adhesion principles, but the sequence, anchor points and curing choices change to match surface area and movement. This article walks you through adhesive selection, placement order and curing strategies specifically for a mixed 12-shape kit such as the Volcano AB 7 set with faceted aurora AB gems and matte silver backs.
How to pick the right adhesive for the nail type
Choosing an adhesive is the first technical decision. We recommend three reliable options depending on service and nail structure:
- Thin gel layers / gem gel: Use for natural nails and press-on services where you want cleaner removal later and a gel cure step. Gem gel creates a strong bed and can be cured to lock facets in place.
- Builder/encapsulation gel: Best for long or flexible extensions where the rhinestone needs a reinforced base; you can sculpt a shallow well and encapsulate smaller stones partially for extra retention.
- Professional rhinestone glue: For immediately secure set-and-go placements, particularly on acrylic extensions and on clustered festival nails where large 3D pieces sit proud. Choose a thin, fast-grab formula for small flat-back crystals.
On all formulas, remember: rhinestones are not self-adhesive and glue is not included with the set. Work in small increments to avoid accidental contamination of surrounding polish or gel.
How to prepare the nail surface for maximum hold
- Clean and dehydrate the natural nail plate or extension with a lint-free wipe and a recommended nail prep product.
- For natural nails, apply a thin bonding primer layer where you’ll place stones; for acrylics, lightly buff the top coat area to remove slip agents and dust off thoroughly.
- Apply the base color or finish. Dark bases (black or deep plum) enhance the warm aurora AB flashes; neutral bases work if you plan to use silver-back shapes as subtle metallic accents.
- Plan your layout. With mixed shapes—raindrop, square, heart, moon—visualize a focal point: reserve the largest or brightest aurora AB faceted piece for the center of an accent nail.
How to sequence placement for mixed raindrop, square, heart and moon shapes
Sequence affects both speed and durability. We use a predictable order to avoid crowding and to secure anchor stones first:
- Anchor first: Start with the largest flat-back aurora AB faceted stone (often a teardrop or heart). Place it where it will bear the most incidental contact—near the cuticle on long nails or toward the nail center on short nails.
- Support pieces: Add square, rectangle and rhombus shapes next to the anchor to distribute outward stress. These flatter, geometric pieces sit well on short and thin nails because they maximize contact area.
- Fill and flair: Use raindrops, half-moons and tiny rounds to fill gaps and create ombré or scattered effects toward the free edge. Marquise and teardrop shapes create movement on long tips.
- Silver-backed accents last: The matte silver-backed pieces read as metallic accents that can visually reduce bulk. Tuck them where they won’t snag, especially on natural nails or press-ons.
For clustered designs on short nails, favor smaller rounds and tiny hearts; on long extensions, mix larger aurora AB facets with geometric shapes and use builder gel to bed the set for longevity.
If you want the exact set we referenced, check this recommended selection:
How to apply and cure depending on your adhesive choice
- Rhinestone glue workflow: Place a tiny dot of glue with a micro brush, pick the flat-back stone with a wax picker or tweezers, and set it firmly for 5–10 seconds. Avoid excess squeeze-out. Allow full air cure per glue directions before finishing topcoat edges.
- Gem gel workflow: Lay a small bead of gem gel where the stone will sit, position the stone, then tack-cure for 1–3 seconds if your lamp allows, followed by a full cure. When using gem gel on natural nails, seal surrounding polish with a thin topcoat layer after stones are set.
- Builder/encapsulation gel workflow: Sculpt a shallow well or bead to receive larger stones. Place the piece, cure, and then encapsulate tiny edges with clear builder gel to protect prongs and reduce lifts. Finish with a high-wear topcoat over the gel margins.
Tip: cure in stages for multi-piece clusters—tack-cure after placing a group of stones to lock their placement, then full-cure the whole nail to ensure the adhesive reaches full strength.
How to adapt techniques for different nail situations
- Short nails: Prioritize low-profile flat shapes and avoid overly tall clusters. Use small dots of strong glue and press pieces flat to maximize contact. Keep metallic silver-backed pieces toward the cuticle to reduce edge catching.
- Thin nails: Reinforce with a thin gel base under the stone; limit cluster size and select flatter squares and rounds as anchors to reduce leverage.
- Natural nails: Use gem gel or glue designed for natural plates and finish with a durable topcoat gap-fill. Remind clients to avoid picking at stones—small parts present a choking hazard for children.
- Extensions (acrylic or gel): Use builder gel beds or professional rhinestone glue. Large aurora AB facets pair well with encapsulation for long wear.
- Press-ons: Apply stones before final topcoat for full sealing, or anchor with thin glue to keep pieces removable if the client wants a changeable look.
How to finish and protect your set
- Once stones are fully cured, seal margins with a thin line of topcoat or builder gel around the base of each piece to prevent edges lifting, but avoid coating the top of faceted AB crystals—this can reduce sparkle.
- Advise clients on aftercare: avoid soaking nails in hot water for prolonged periods for the first 24–48 hours and avoid picking at edges.
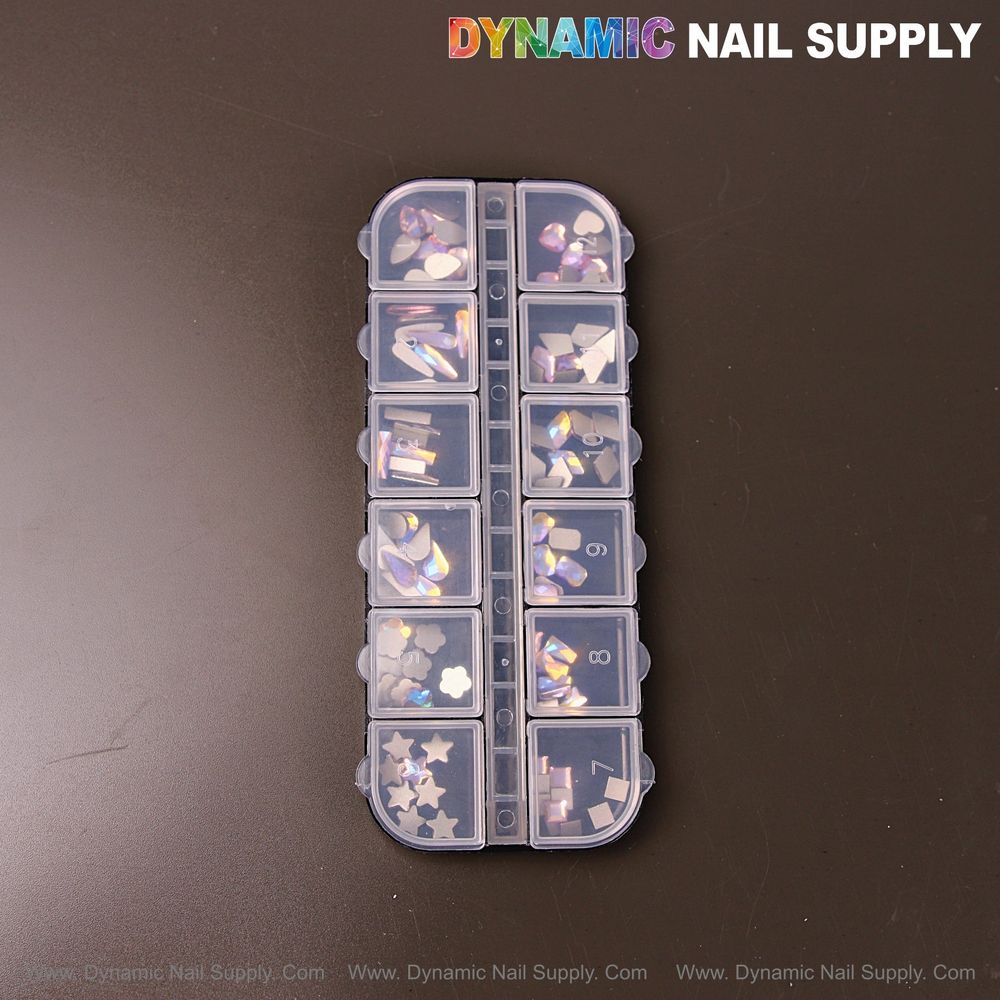
- Store leftover crystals in the provided multi-compartment tray to preserve sorting and avoid scratches to the aurora AB finish.
How to handle safety and small-part precautions
These mixed-shape crystals are small and should be kept away from children under three. Use tweezers and a proper picker tool to avoid eye contact, and work in a well-ventilated area when using adhesives.
FAQ
How long will the stones stay on?
Longevity depends on adhesive and nail type; builder gel encapsulation and professional rhinestone glue give the best wear on extensions, while gem gel works well for natural nails when cured properly.
Can we topcoat over the AB facets?
We avoid full topcoating the facets to preserve the aurora AB flashes; seal only the base margins to lock edges.
Is the set ready to use?
The kit includes a storage box and a picker tool, but glue is not included. Quantities may vary slightly due to manual packaging.
We hope this step-by-step approach helps you confidently apply mixed-shape flat-back rhinestones like the Volcano AB 7 set in salon services. Explore the product details and experiment safely to find the placement patterns your clients love.
