
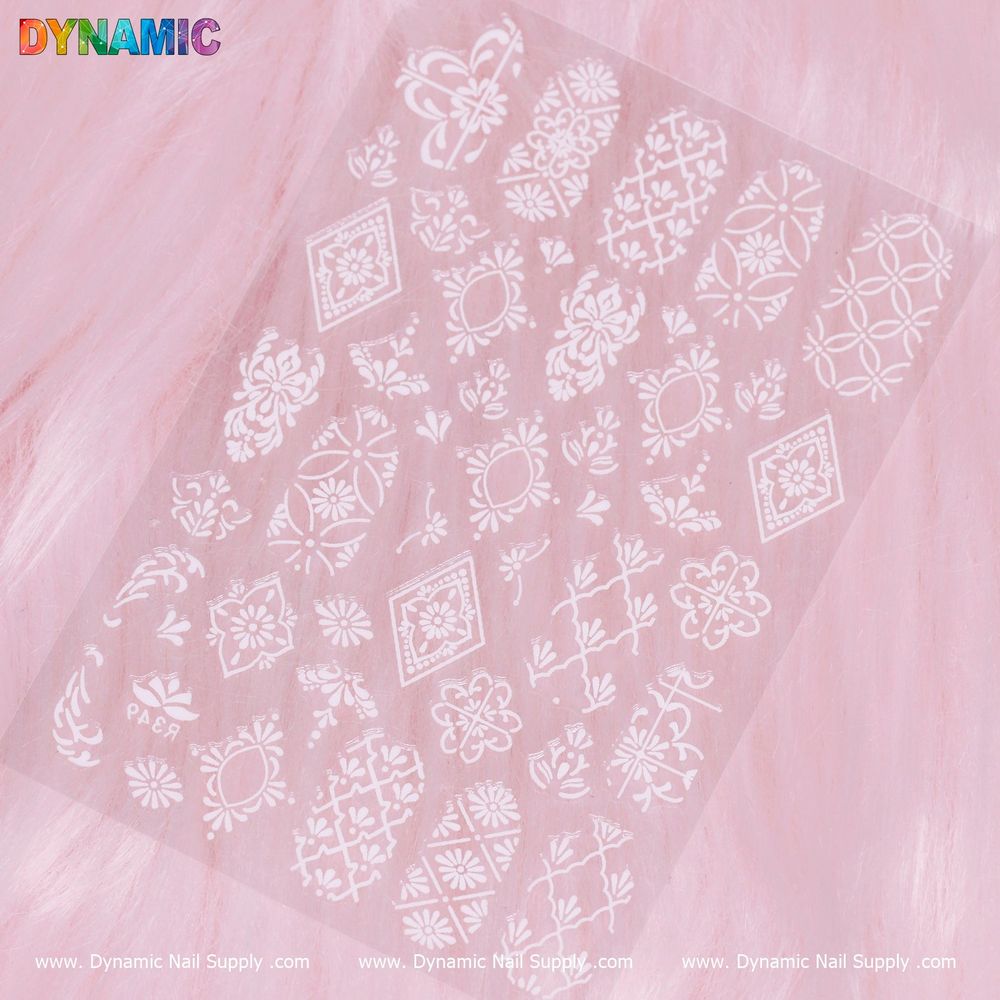
If you’re new to nail decoration, patterned stickers are one of the fastest and friendliest ways to add professional-looking detail to your manicure. White pattern nail stickers offer crisp contrast on colored polishes and can act as a subtle accent on natural nails.
Below you’ll find straightforward definitions, a step-by-step application process, practical tips for beginners, and notes on care and removal. To view the exact pattern, see Nail Sticker white.
What are white pattern nail stickers?
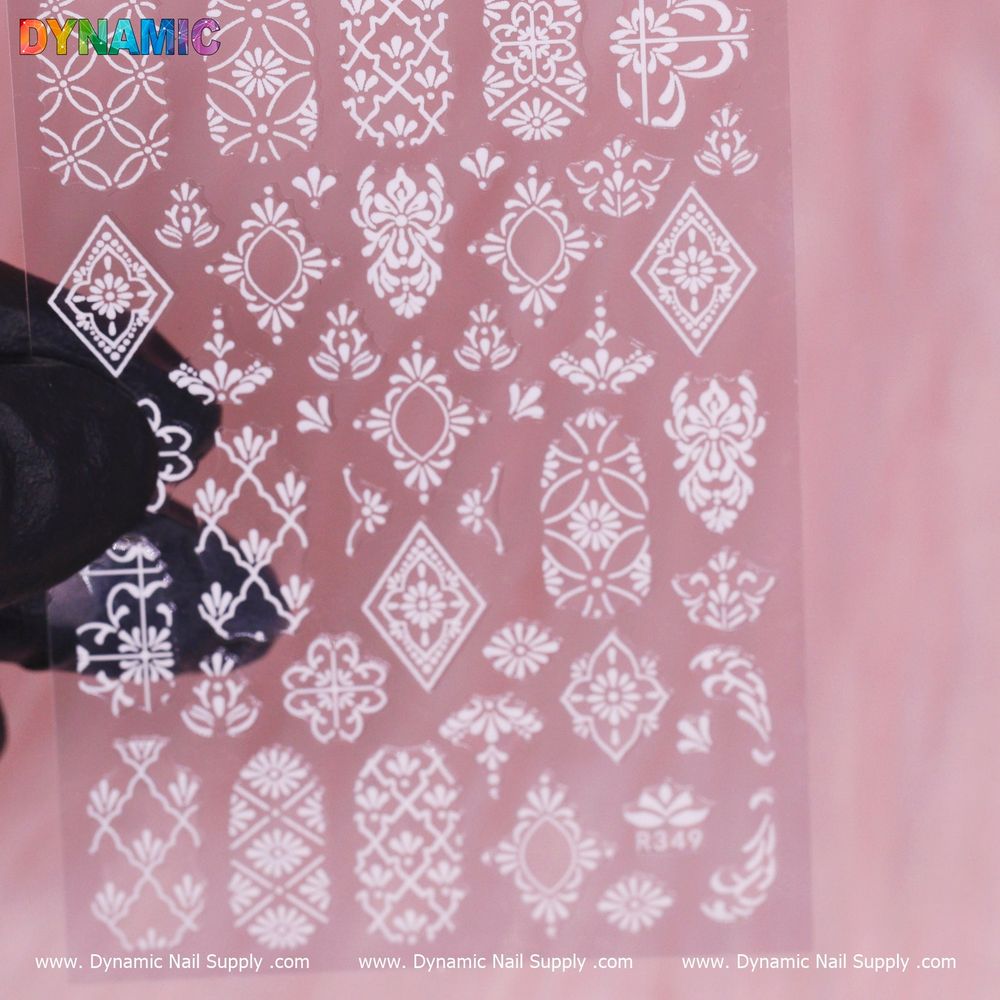
White pattern nail stickers are pre-designed adhesive decals made to fit onto fingernails and toenails. They come in sheets or individual pieces and feature repetitive motifs—tags on this product list include design, floral, symbol, and pattern—so you can add consistent decoration across several nails quickly.
Key features explained
- Patterned design: Repeating motifs (for example floral or symbolic shapes) make it easy to create a coordinated look without hand-painting.
- White finish: The white color shows up well over darker polishes and also creates a clean, minimalist accent on lighter shades.
- Sticker format: Adhesive-backed pieces that are applied directly to the nail surface—ideal for fast decoration or accent nails.
- Budget-friendly option: The available variant lists a price of $2.00; prices may change.
Before you start: basic prep
Good prep makes stickers last longer and look neater. Work on clean, dry nails with trimmed cuticles and a smooth surface. If you’re using polish underneath, allow it to dry completely before applying stickers—tacky or wet polish will trap air and cause lifting.
Step-by-step application for beginners
1. Choose your layout
Decide whether you want full-coverage stickers on each nail, small accents, or alternating patterned and plain nails. Lay out the pieces on a clean surface so you can test sizes and placements before sticking anything down.
2. Prepare the nail
- Wipe the nail with a lint-free pad and a little rubbing alcohol or nail cleanser to remove oils (avoid over-wetting).
- If you apply polish beneath the sticker, make sure it is fully dry and smooth; a thin base coat helps even adhesion.
3. Apply the sticker
- Use tweezers or a stick to pick up a sticker—this keeps oils from your fingers off the adhesive.
- Place the sticker gently on the nail, aligning the design as you want it to appear.
- Smooth from the center outward to press out air bubbles and ensure full contact with the nail surface.
4. Trim and finish
If the sticker overlaps the free edge of the nail, use a small scissors or a nail file to remove excess: file in a downward motion along the tip so the sticker lifts cleanly. Seal the look with a top coat—one or two thin layers of a clear top coat will protect the edges and give a cohesive glossy finish.
Practical tips for neater results
- Work in natural light: It helps you line up patterns symmetrically.
- Use tweezers: Picking stickers up with tweezers keeps the adhesive cleaner and reduces fingerprints.
- Thin top coats only: Thick layers can cause stickers to wrinkle; thin, even layers are best.
- Try accent nails first: Practice applying stickers to one or two nails before doing the entire set.
Who these stickers are best for
White pattern nail stickers are a great tool for beginners, DIY mani enthusiasts, and professionals who need a quick decorative option. They suit anyone looking to add floral or symbolic accents without drawing or painting freehand. Small salons or students building a portfolio may appreciate the simplicity—Dynamic Nail Supply carries this type of sticker among its decorative options.
Care, wear, and safe removal
Wear time depends on how well the stickers are applied and how you use your hands. To prolong wear, avoid prolonged exposure to hot water immediately after application and reapply a thin top coat every few days. For removal, gently lift an edge with a wooden stick or soak in warm soapy water until the adhesive releases; do not pull forcibly to avoid damaging the nail surface. If you have irritated or broken skin around a nail, postpone decorative applications until the area has healed.
Final notes and quick checklist
White pattern nail stickers are a low-cost, low-effort way to upgrade a manicure. Before you begin, check that nails are clean and dry, choose your layout, use tweezers for placement, smooth out air pockets, trim excess, and seal with thin top coats. A single variant is offered at $2.00, and availability may vary.
With these steps and tips you’ll be able to use patterned white stickers to create crisp, repeatable nail art without advanced tools or long practice sessions. Happy decorating!
