
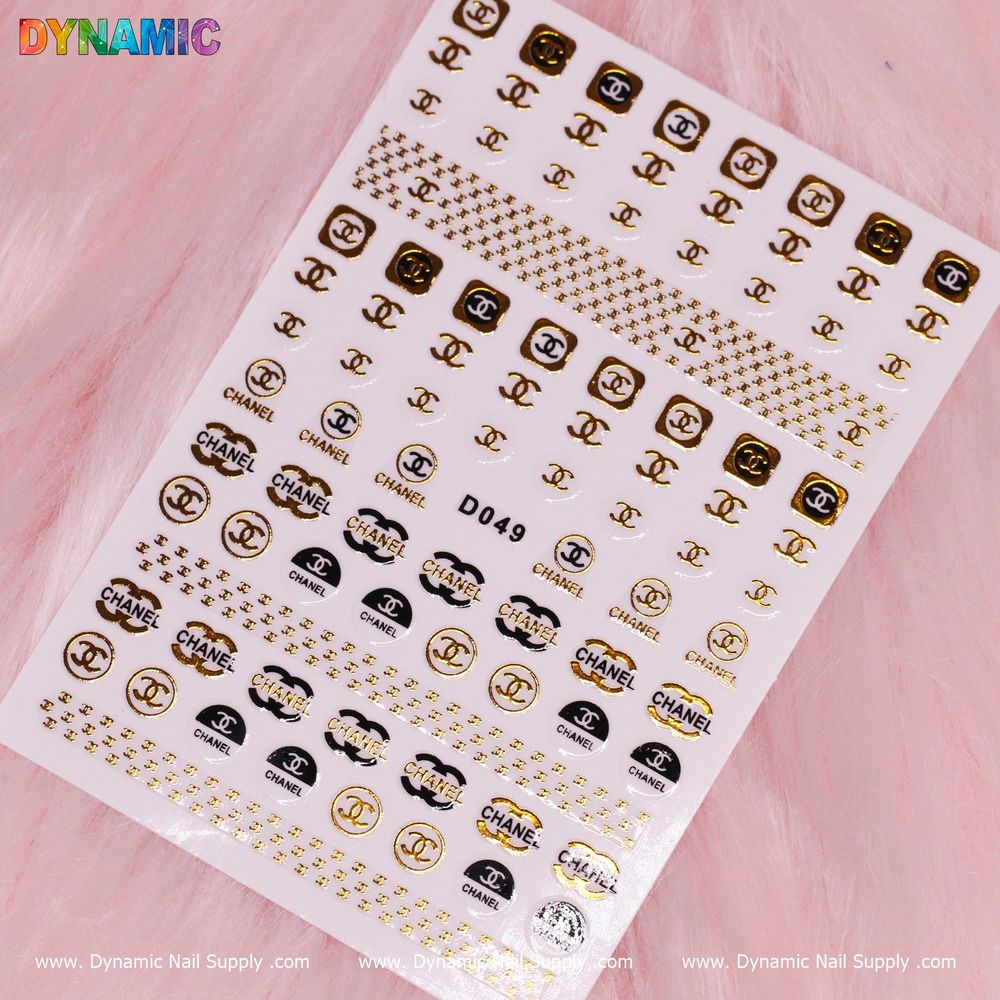
Chipped polish, uneven designs, and time-starved routines are the reality for many nail clients and DIY fans. Luxury nail art stickers offer a fast, decorative solution that covers flaws, adds designer-inspired detail, and refreshes a manicure in minutes without a full redo.
Why this sticker style solves common nail problems
Nail stickers work where traditional polish can struggle: quick touch-ups, fragile nails that won’t hold complex art, and when you need a precise motif that’s hard to paint freehand. Because they are pre-made, they remove the guesswork of symmetry and tiny detail work, making them ideal for hiding chips, masking staining, or turning a single nail into a statement accent.
Pick up this luxury nail sticker to test as an accent and see how one small decal can refresh a full set in seconds.
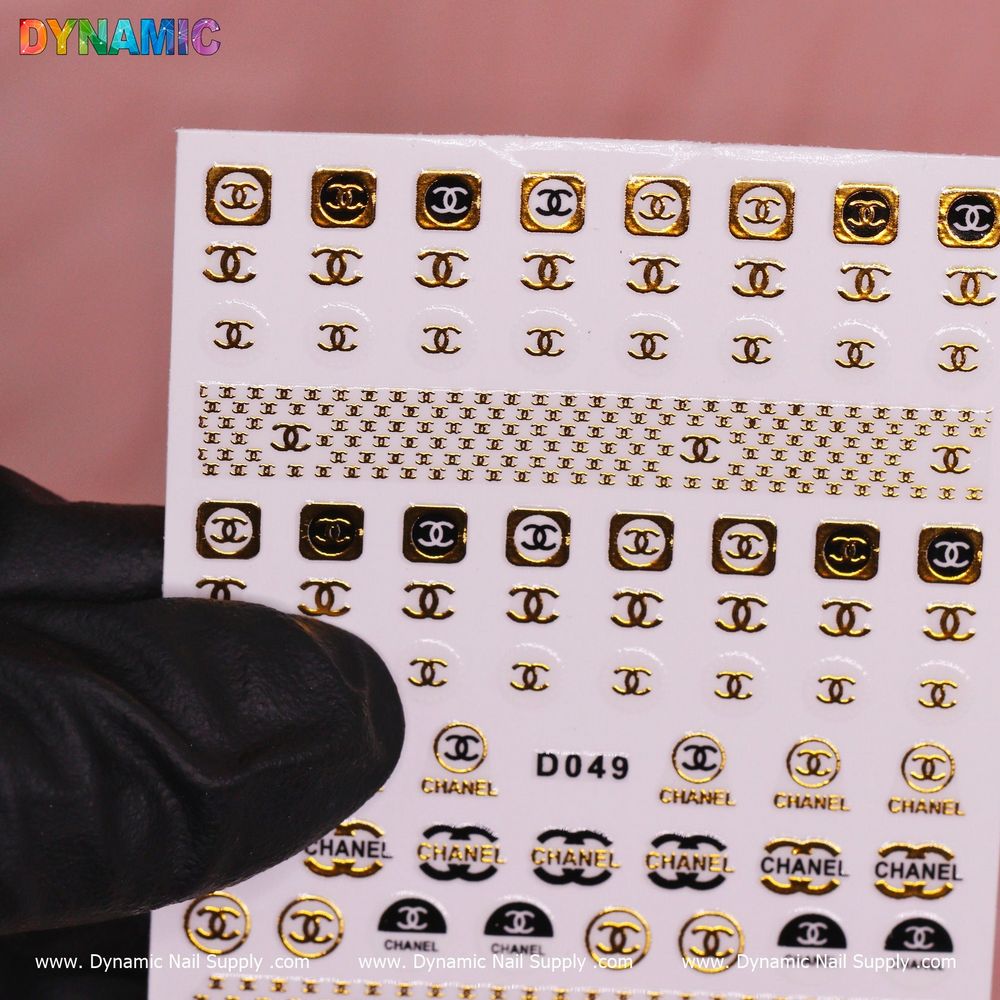
How to apply luxury nail art stickers for best results
Follow a simple, consistent routine to make stickers look professional and last longer:
- Prep the nail: Clean oils and debris from the nail plate with an alcohol wipe or cleanser and gently buff any rough spots so the sticker sits flush.
- Base layer: For uneven or stained nails, apply a thin base coat or a matching polish color and let it dry fully before applying the sticker.
- Placement: Use tweezers to position the sticker, starting at the cuticle and smoothing outward to avoid air pockets.
- Trim and seal: If the sticker overhangs the free edge, trim or file the excess gently. Finish with a clear top coat to smooth edges and improve adhesion.
- Quick tip: When working on a client or multiple nails, apply stickers one hand at a time and finish with a top coat before moving to the next hand to prevent smudging.
Key features explained in context
These stickers are designed to add a designer look without complex techniques. They are single-use decals that offer instant graphic or metallic accents and can be paired with polish, gel, or simple clear finishes. At a wallet-friendly price of $2.00 per sheet, they’re an economical option for testing new looks, offering seasonal motifs, or adding value to basic manicures.
Practical styling ideas and placement tricks
Think beyond full-coverage application. Use stickers to:
- Cover a chip: Apply the sticker only to the damaged nail as a quick concealment while still looking intentional.
- Create accents: Place stickers on just the ring finger or thumb for a modern mixed-manicure effect.
- Layer with polish: Put a sticker over a solid color to add depth, or under a sheer polish for a subtle shimmer.
Who should use luxury nail art stickers?
These decals are suited to a range of users: busy salon techs who need a fast decorative option between clients, mobile techs and students wanting affordable design variety, and at-home users seeking salon-style detail without mastering hand-painted art. Because they’re inexpensive and easy to store, they’re also useful for trialing new looks before committing to a full set or expensive techniques.
Care, durability, and safety notes
To extend the look, avoid prolonged soaking immediately after application and reapply top coat every few days on high-wear nails. If a sticker lifts at the edge, press it down and add a drop of top coat to seal. Keep adhesive decals away from children and do not ingest. If irritation occurs, remove the sticker and consult a professional.
Where to buy and final thoughts
These luxury nail art stickers are an economical way to add instant, designer-style details without a lengthy appointment. Available through Dynamic Nail Supply for $2.00, they’re an easy add-on product for salon retail or a quick refresh in a personal kit. With a little prep and a good top coat, stickers can turn a chipped, tired set into a polished look in minutes.
Whether you’re fixing a chip between appointments or offering clients a new accent option, luxury nail art stickers are a practical, budget-friendly tool for modern nail care.
