
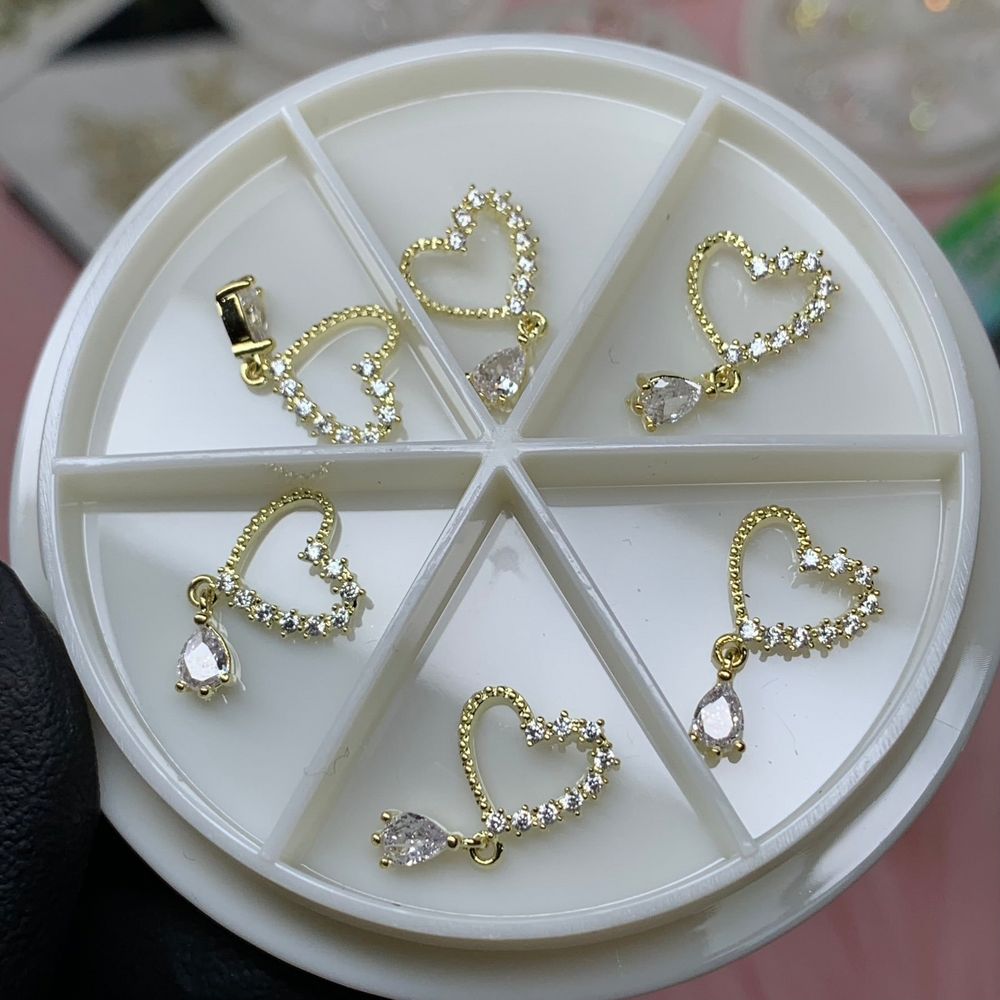
Want Valentine’s nail art that looks like it came from a pro? 3D heart nail charms add instant impact to a manicure, turning simple polish into a luxe, attention-grabbing design. With the right prep and placement technique you can achieve a durable, salon-quality finish whether you’re working on a client or doing your own nails at home.
What you get and why it matters
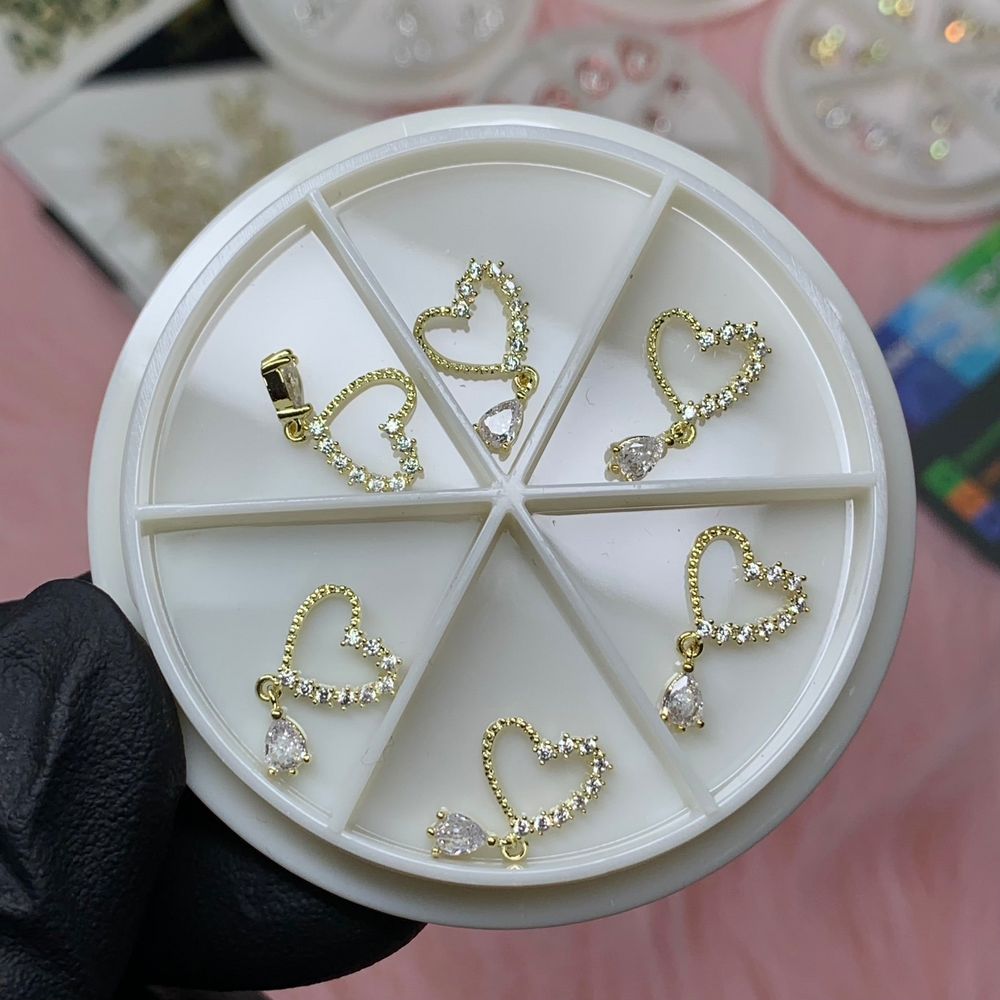
This product comes as a set of six 3D luxury heart-shaped charms—enough to accent multiple nails or create a cohesive theme across both hands. The set is sold for $8.00 and is ideal as a Valentine’s collection accent. If you’d like to purchase them, find the 3D heart nail charms set at 3D heart nail charms set. These compact pieces are designed to sit on top of polish, gel, or enhancements for a three-dimensional focal point.
Tools and supplies to gather first
Having the right extras on hand makes the difference between a fragile decoration and a long-lasting statement. At minimum, prepare:
- Clean nails: remover, file and buffer for a smooth base
- Adhesive: nail glue for quick fixes and sculpting gel or builder for embedding into gel systems
- Top coat: a gel or resin top coat to seal the edges
- Tweezers or a wax picker: for precise placement of small hearts
- Curing lamp (optional): if you’re using gel to secure the charms
Step-by-step application for professional results
Follow these steps to place 3D heart nail charms cleanly and securely.
1. Prep the nail
Start with a clean, dry nail. Lightly buff the surface and remove dust—this helps adhesives and top coats bond. If you’re working over a dark or glossy polish, consider applying a thin, fully cured base layer so the charm sits flat.
2. Choose placement and test-fit
Plan the placement before adding any adhesive. Hold the charm in position with tweezers to confirm spacing and balance across the set of nails. Mark a tiny dot of adhesive on the chosen spot so you can set the charm quickly.
3. Secure the charm
For a quick salon-style fix, use a drop of nail glue on the dot you made, then place the charm and hold for a few seconds. For a longer-lasting, embedded look—especially when working with gel manicures—apply a small pool of sculpting or builder gel, set the charm into the gel, then cure under a lamp according to your gel system’s instructions.
4. Seal and finish
After the charm is secure, seal the surrounding area with a top coat. If the charm is raised, brush top coat around the base to reduce snagging rather than trying to coat the entire top surface; many 3D pieces perform better with the edges sealed than a thick layer over the charm itself. Cure if necessary, then wipe with cleanser and inspect the edges for lift.
Design ideas that look professional
- Accent nail: One or two heart charms on an accent nail with a glossy base create a focused, elegant effect.
- Scattered hearts: Place smaller hearts across multiple nails for a playful, modern look.
- Mixed textures: Pair a heart charm with glitter, metallic foil, or matte polish to create contrast and dimension.
- French twist: Replace the tip of a French with a tiny heart for a romantic micro-detail.
Key features in context
These are described as luxury 3D heart charms and come six per set—perfect for creating focal points without overwhelming a design. Their three-dimensional profile is the main feature: it adds depth and catches light differently than flat decals, so placement and sealing technique matter more than with stickers. Because the set is compact, it’s useful for both full-value salon services and express at-home designs.
Who should use these charms?
They’re ideal for nail technicians who want a quick Valentine’s upgrade to a service menu and for confident DIYers who already work with adhesives or gel systems. If you frequently do bridal or occasion nails, the charms are a convenient specialty item to keep on hand. Dynamic Nail Supply carries this item and can provide ordering details if needed.
Care, maintenance and safety notes
Handle small nail decorations with care: keep them away from young children and pets. Secure attachment is crucial—advise clients to avoid heavy lifting or aggressive hand work for the first day after application to allow adhesives to fully set. If you embed the charm with builder or gel, follow your gel manufacturer’s curing and aftercare recommendations. For removal, gently pry off with professional tools and never force a charm loose, which can damage the natural nail.
Whether you’re doing a full-service nail set or a quick at-home look, using proper prep and placement techniques transforms a heart charm from a novelty into a professional highlight. With just six pieces per set, these luxury hearts are best used as accents—applied thoughtfully they’ll elevate any Valentine’s manicure into a salon-worthy finish.
